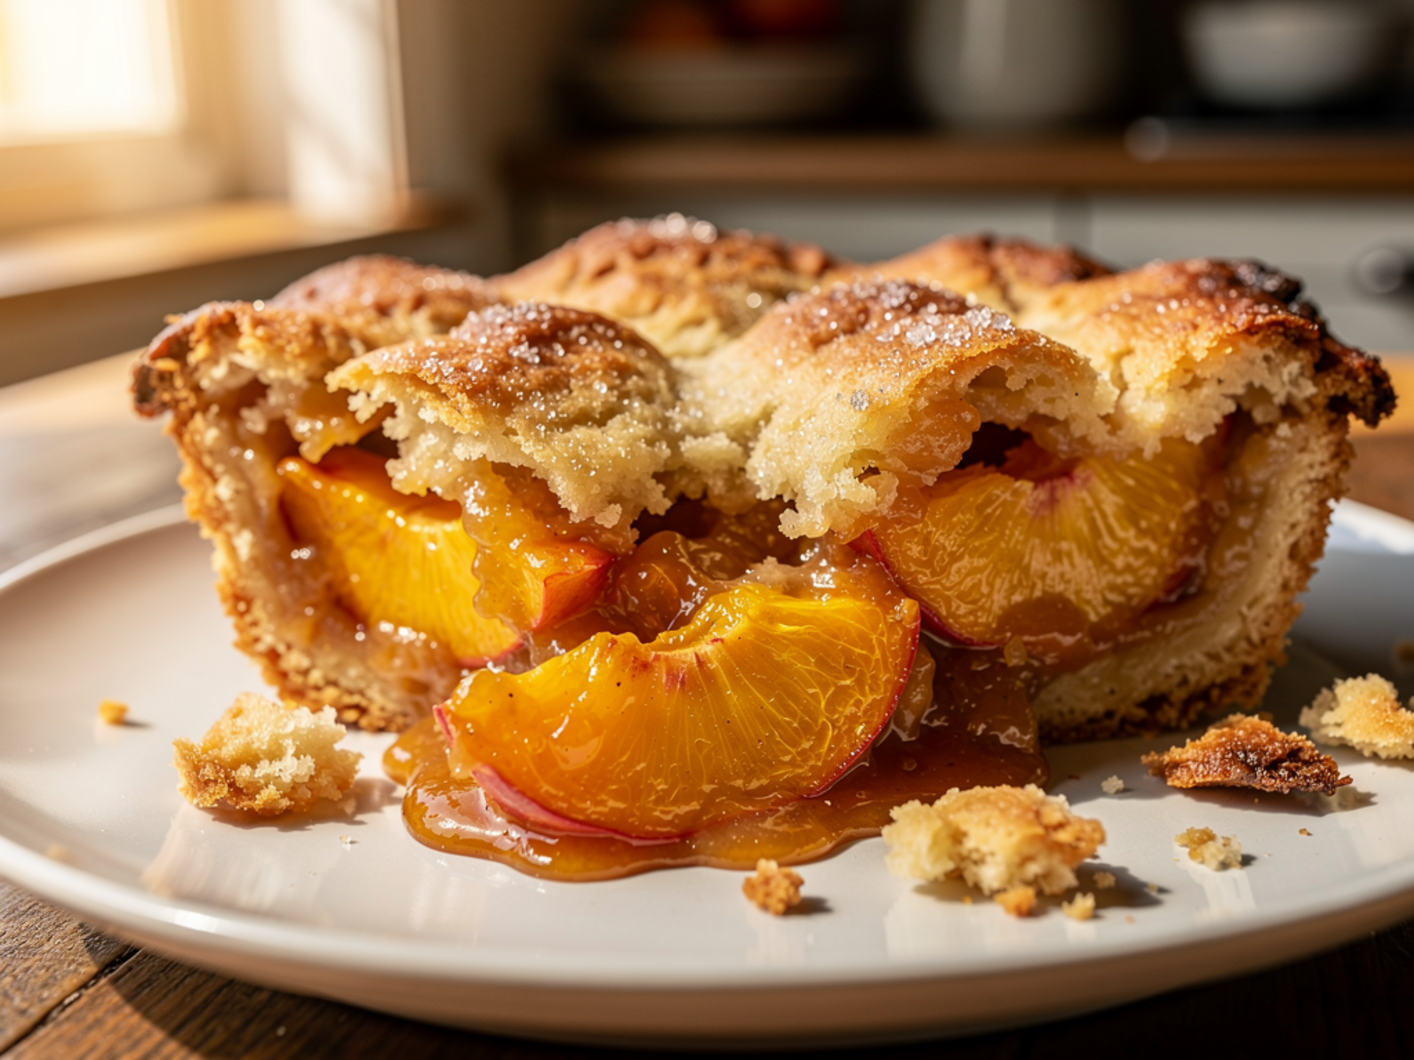
There’s something undeniably magical about pulling a warm, bubbling dessert out of the oven on a summer evening. The sweet aroma of ripe peaches mingling with golden, buttery biscuit topping fills the entire kitchen and draws everyone to the table before you even set it down. If you’ve been searching for the perfect Peach Cobbler recipe, you’ve come to the right place. This is the kind of dessert that transcends generations — a beloved Southern classic that tastes like home, comfort, and everything good about homemade baking.
What makes this particular version so special? It strikes the ideal balance between simplicity and depth of flavor. You don’t need fancy equipment, obscure ingredients, or culinary school training. All you need is a handful of pantry staples, fresh or canned peaches, and about an hour of your time. Whether you’re preparing this for a backyard barbecue, a holiday gathering, or a quiet Tuesday night treat, this dessert never fails to impress.
In this comprehensive guide, I’ll walk you through every detail — from selecting the best peaches to achieving that perfectly golden crust. By the end, you’ll have the confidence to create a show-stopping cobbler that will have everyone asking for seconds. Let’s dive in.
Ingredients
The beauty of this dessert lies in its simplicity. Every ingredient plays a purposeful role in building layers of flavor and texture. Here’s what you’ll need:
For the Peach Filling
-
- 6 large ripe peaches (approximately 3 pounds), peeled, pitted, and sliced — or two 29-ounce cans of sliced peaches, drained
-
- ¾ cup granulated sugar
-
- 1 tablespoon freshly squeezed lemon juice
-
- 1 teaspoon pure vanilla extract
-
- ½ teaspoon ground cinnamon
-
- ¼ teaspoon ground nutmeg
-
- 1 tablespoon cornstarch
For the Biscuit Topping
-
- 1½ cups all-purpose flour
-
- ½ cup granulated sugar, plus 2 tablespoons for sprinkling
-
- 1½ teaspoons baking powder
-
- ½ teaspoon salt
-
- ½ cup (1 stick) cold unsalted butter, cut into small cubes
-
- ½ cup whole milk
-
- 1 large egg
-
- 1 teaspoon pure vanilla extract
Optional Garnishes
-
- Vanilla ice cream or freshly whipped cream
-
- A light drizzle of caramel sauce
-
- Fresh mint leaves for presentation
- Fresh mint leaves for presentation
Step-by-Step Instructions
Follow these detailed steps carefully, and you’ll achieve cobbler perfection every single time. This Peach Cobbler recipe from scratch is designed to be foolproof, even for beginner bakers.
Step 1: Preheat Your Oven and Prepare Your Dish
Preheat your oven to 375°F (190°C). Lightly grease a 9×13-inch baking dish or a deep 10-inch cast-iron skillet with butter or non-stick cooking spray. Cast iron is particularly wonderful here because it distributes heat evenly and creates beautifully caramelized edges.
Step 2: Prepare the Peach Filling
If using fresh peaches, bring a large pot of water to a boil. Score a small “X” on the bottom of each peach and blanch them for 30 to 60 seconds. Immediately transfer them to an ice bath. The skins will slip off effortlessly. Slice the peaches into even wedges, about ½-inch thick.
In a large mixing bowl, combine the peach slices with granulated sugar, lemon juice, vanilla extract, cinnamon, nutmeg, and cornstarch. Toss everything gently until the peaches are evenly coated. Let the mixture sit for 10 to 15 minutes while you prepare the topping. This resting period allows the peaches to release their natural juices, which will create that luscious, syrupy base during baking.
Step 3: Make the Biscuit Topping
In a separate large bowl, whisk together the flour, sugar, baking powder, and salt. Add the cold cubed butter and use a pastry cutter, two forks, or your fingertips to work the butter into the dry ingredients until the mixture resembles coarse crumbs with some pea-sized pieces remaining. These butter pieces are essential — they create steam during baking, resulting in a light, flaky texture.
In a small bowl, whisk together the milk, egg, and vanilla extract. Pour the wet ingredients into the dry ingredients and stir gently with a wooden spoon or spatula until just combined. The batter should be thick, lumpy, and slightly shaggy. Resist the urge to overmix, as this leads to a tough, dense topping instead of a tender one.
Step 4: Assemble the Cobbler
Pour the peach filling into your prepared baking dish, spreading it out in an even layer. Spoon the biscuit topping over the peaches in large, irregular dollops. Don’t worry about covering every inch — gaps allow steam to escape and let the peach juices bubble up beautifully around the edges. Sprinkle the remaining 2 tablespoons of sugar evenly over the top for a delightful crunch.
Step 5: Bake to Golden Perfection
Place the baking dish on the center rack of your preheated oven. Bake for 40 to 45 minutes, or until the biscuit topping is deeply golden brown and the peach filling is vigorously bubbling around the edges. If the top begins to brown too quickly, tent it loosely with aluminum foil during the last 10 minutes.
Step 6: Cool and Serve
Remove the cobbler from the oven and let it cool on a wire rack for at least 15 to 20 minutes before serving. This resting period allows the filling to thicken slightly, making it easier to scoop and serve. Trust me — patience pays off here.
Tips for Best Results
After years of testing and refining this recipe, I’ve gathered insights that make a significant difference in the final result.
Choose ripe peaches wisely. The best peaches yield slightly to gentle pressure and have a fragrant, sweet aroma near the stem. Freestone varieties like Red Haven or Elberta are ideal because the flesh separates easily from the pit.
Keep your butter cold. This is non-negotiable. Cold butter creates those coveted pockets of steam that make the biscuit topping light and flaky. If your kitchen is warm, pop the cubed butter back in the freezer for a few minutes before incorporating it.
Don’t skip the cornstarch. It acts as a thickening agent, preventing the filling from becoming overly watery. Without it, you’ll end up with a soupy cobbler that lacks body.
Use a light hand when mixing. Whether it’s the filling or the topping, gentle mixing preserves texture. Overmixed batter produces a cakey, dense topping rather than the rustic, biscuit-like consistency you’re aiming for.
Test for doneness properly. Insert a toothpick into the thickest part of the biscuit topping. It should come out clean or with just a few moist crumbs attached.
Alternative Variations
One of the beautiful things about this Peach Cobbler recipe is its incredible versatility. Here are some creative twists to explore:
Brown Butter Peach Cobbler: Melt the butter in a saucepan over medium heat until it turns amber and smells nutty. Let it cool completely, then use it in the topping for a rich, complex flavor that elevates the entire dish.
Bourbon Peach Cobbler: Add 2 tablespoons of good-quality bourbon to the peach filling. The alcohol cooks off during baking, leaving behind a warm, caramel-like depth.
Mixed Berry and Peach Cobbler: Replace one-third of the peaches with fresh blueberries, raspberries, or blackberries for a vibrant, tangy twist.
Gluten-Free Version: Substitute the all-purpose flour with a quality 1:1 gluten-free baking blend. The results are remarkably similar to the original.
Vegan Adaptation: Replace the butter with cold vegan butter, use plant-based milk, and substitute the egg with a flax egg (1 tablespoon ground flaxseed mixed with 3 tablespoons water).
Serving Suggestions
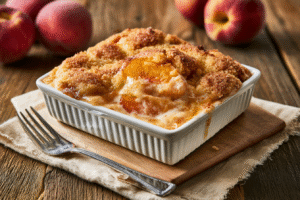
The best cobbler deserves the best presentation. Serve generous scoops while the dessert is still warm in deep bowls or on rustic plates. A scoop of high-quality vanilla bean ice cream is the classic companion — the contrast between the warm, syrupy peaches and cold, creamy ice cream is absolutely divine.
Freshly whipped cream with a touch of vanilla and powdered sugar is another excellent pairing. For a more indulgent experience, drizzle warm caramel or butterscotch sauce over each serving. A dusting of powdered sugar and a sprig of fresh mint add an elegant finishing touch that looks stunning in photographs.
This Peach Cobbler recipe from scratch pairs wonderfully with after-dinner coffee, sweet iced tea, or even a glass of late-harvest Riesling for a more sophisticated occasion.
Storage Tips
Proper storage ensures you can enjoy this cobbler for days after baking it.
Room Temperature: Cobbler can sit covered on the counter for up to 2 hours after baking. Beyond that, it should be refrigerated.
Refrigerator: Cover the baking dish tightly with plastic wrap or aluminum foil and store it in the refrigerator for up to 4 days. The filling actually deepens in flavor as it sits.
Reheating: Warm individual portions in the oven at 350°F for 10 to 15 minutes, or microwave for 30 to 45 seconds. The oven method preserves the crispness of the topping far better than the microwave.
Freezing: While best enjoyed fresh, you can freeze the assembled but unbaked cobbler for up to 3 months. Wrap it tightly in plastic wrap and aluminum foil. When ready to bake, place it in the oven directly from frozen, adding an extra 15 to 20 minutes to the baking time.
Pro tip: If you anticipate leftovers, bake the cobbler in individual ramekins. They reheat beautifully and make portion control much easier.
Conclusion
There’s a reason this Peach Cobbler recipe has stood the test of time. It captures everything we love about homemade desserts — warmth, simplicity, incredible flavor, and the ability to bring people together around a table. From the juicy, cinnamon-kissed peaches to the golden, buttery biscuit crust, every bite is a celebration of what real home cooking should taste like.
Whether you’re a seasoned baker or someone just beginning to explore the joy of baking from scratch, this recipe meets you where you are. The ingredients are accessible, the steps are straightforward, and the results are consistently outstanding. Making a Peach Cobbler recipe from scratch isn’t just about the dessert itself — it’s about the experience, the memories, and the smiles it creates.
So gather your peaches, preheat that oven, and let the magic happen. Your kitchen is about to smell absolutely incredible, and your family and friends are about to experience a dessert they won’t soon forget. Happy baking!