Layer cakes have a special way of making any occasion feel extraordinary, and this Red Velvet Strawberry Cheesecake takes that to another level. It’s the perfect marriage of tangy cream cheese cheesecake, moist red velvet cake, and juicy fresh strawberries—all wrapped in silky cream cheese frosting. I’ve made this beauty for birthdays, anniversaries, and even just because the strawberries at the Casablanca market looked too good to pass up. The first time I assembled it, the kitchen smelled like vanilla and berries, and when I cut that first slice—those vibrant red layers alternating with creamy white cheesecake and pops of red fruit—it felt like pure magic.
This isn’t a quick weeknight bake; it’s a project worth every minute. The contrast of flavors and textures—velvety cake, smooth cheesecake, tart-sweet berries—makes each bite unforgettable. If you’re ready to impress (or just treat yourself), let’s dive in.
Why Red Velvet Strawberry Cheesecake Is Worth the Effort
Red velvet’s subtle cocoa tang pairs beautifully with classic cheesecake’s richness, while strawberries add brightness and moisture that keeps everything from feeling too heavy. The result is elegant yet approachable: stunning to look at, decadent to eat, but balanced enough for seconds (and thirds).
I’ve tweaked this over time—sometimes baking the cheesecake layer separately to avoid cracks, other times swirling them together for marbled effect. Either way, it always disappears fast at gatherings.
Here’s the whole cake, frosted smoothly with cream cheese icing and crowned with fresh strawberries:
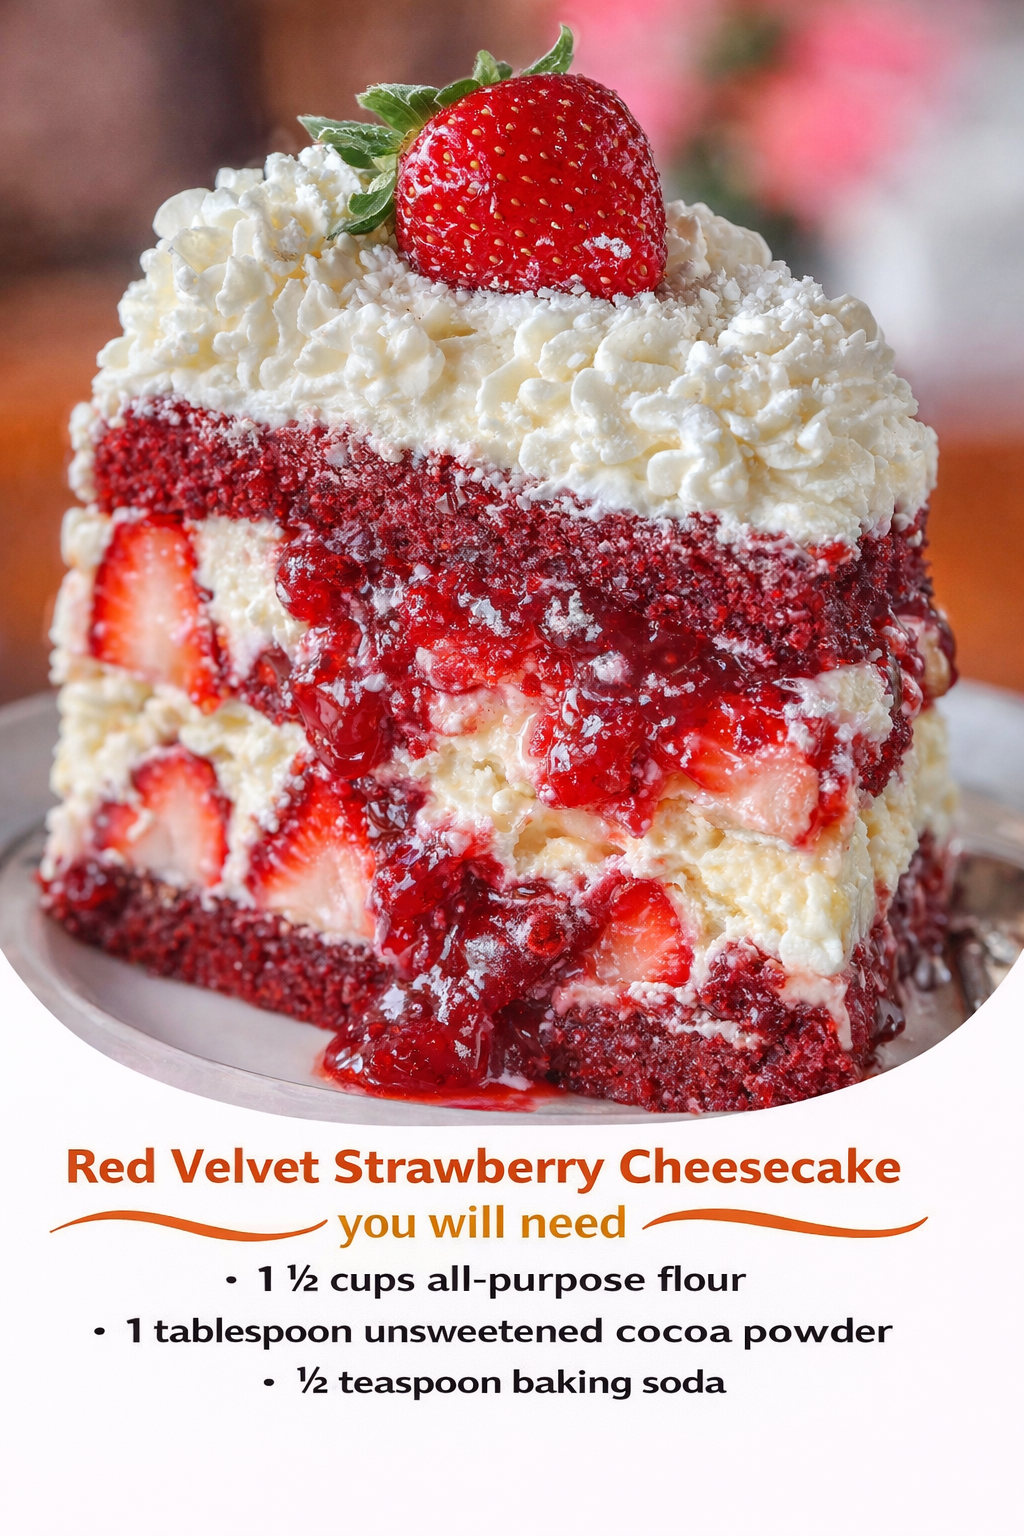
And a close-up slice showing those gorgeous red velvet layers, creamy cheesecake filling, and bursting berries:
Another tempting view of a plated slice—notice the perfect crumb and juicy strawberry accents:
Ingredients for Red Velvet Strawberry Cheesecake
red velvet cake layers (two 8- or 9-inch layers):
- 2½ cups all-purpose flour
- 2 Tbsp unsweetened cocoa powder
- 1 tsp baking soda
- ½ tsp salt
- ½ cup unsalted butter, softened
- 1½ cups granulated sugar
- 2 large eggs, room temperature
- 1 cup buttermilk
- ½ cup vegetable oil
- 2 tsp vanilla extract
- 1 Tbsp red food coloring (gel preferred for deeper color)
- 1 tsp white vinegar
strawberry cheesecake layer/filling:
- 24 oz (3 packages) cream cheese, softened
- 1 cup granulated sugar
- 3 large eggs
- ½ cup sour cream
- 2 tsp vanilla extract
- 1½ cups fresh strawberries, pureed (about 2 cups whole berries)
- 2 Tbsp all-purpose flour (helps prevent cracking)
cream cheese frosting:
- 16 oz cream cheese, softened
- 1 cup unsalted butter, softened
- 4–5 cups powdered sugar
- 2 tsp vanilla extract
- 1–2 Tbsp heavy cream (for consistency)
assembly & garnish:
- 2–3 cups fresh strawberries, sliced or halved
- Optional: strawberry glaze or jam for extra shine
Step-by-Step: Baking and Assembling Red Velvet Strawberry Cheesecake
- Bake the Red Velvet Layers Preheat oven to 350°F (175°C). Grease and line two 8- or 9-inch round pans. Whisk dry ingredients (flour, cocoa, baking soda, salt). Cream butter and sugar, add eggs one at a time, then mix in oil, buttermilk, vanilla, food coloring, and vinegar. Combine wet and dry. Divide and bake 25–30 minutes. Cool completely.
- Prepare the Cheesecake Reduce oven to 325°F (160°C). Beat cream cheese until smooth, add sugar, then eggs one by one. Mix in sour cream, vanilla, strawberry puree, and flour. Pour into a greased 8- or 9-inch springform pan (or use the same size as cake layers). Bake in a water bath 50–60 minutes until edges set but center jiggles slightly. Cool slowly in oven (door ajar), then chill 4+ hours.
- Make the Frosting Beat cream cheese and butter until fluffy. Gradually add powdered sugar, vanilla, and cream until spreadable.
- Assemble Level red velvet layers. Place one on a cake board, spread thin frosting, add cheesecake layer (remove from springform carefully). Top with more frosting and sliced strawberries. Add second red velvet layer. Frost entire cake smoothly. Pipe decorative swirls if desired. Garnish generously with fresh strawberries.
- Chill & Serve Refrigerate at least 2 hours (overnight best) to set. Slice with a hot knife.
This slice reveals the dreamy layers—red velvet, strawberry cheesecake, and fresh fruit all in harmony:
Tips for Flawless Results Every Time
Use room-temperature ingredients to avoid lumps. For crack-free cheesecake, never skip the water bath and slow cooling. If strawberries are very juicy, drain puree slightly to prevent soggy layers. Gel food coloring gives the truest red without altering texture.
A Little Background on This Fusion Dessert
Red velvet originated in the U.S. (with its signature tang from buttermilk/vinegar/cocoa reaction), while cheesecake has ancient roots but became iconic in New York style. Combining them with strawberries is a modern twist—popularized in recent years on social media for its stunning visuals and balanced flavors.
Approximate Nutrition (Per Slice, 12–16 Servings)
- Calories: 520–620
- Fat: 35–42g
- Carbs: 50–60g
- Sugars: 40g+
- Protein: 8g
A true indulgence—save room!
Serving & Presentation Ideas
Serve chilled for clean slices. Pair with coffee, rosé, or sparkling water with lemon. Display on a glass stand—the red and white contrast pops beautifully.
Drink Pairings
Champagne or prosecco highlights the berries. For non-alcoholic, strawberry-infused iced tea or milk.
Variations to Make It Your Own
- Swirled Style: Marble cheesecake batter into red velvet for a tie-dye effect.
- Mini Versions: Bake in cupcake tins for individual treats.
- No-Bake Cheesecake: Skip baking the filling layer for easier assembly.
- Extra Berry: Add strawberry jam between layers.
Storage
Refrigerate up to 4–5 days (cover well). Freeze unfrosted layers/cheesecake up to 2 months; thaw in fridge before assembling.
Frequently Asked Questions
Can I make it ahead? Yes—bake components 1–2 days early; assemble day-of.
How to prevent cheesecake cracks? Water bath + slow cool + don’t overbake.
Too much strawberry flavor? Reduce puree or use less in filling.
Final Thoughts
This Red Velvet Strawberry Cheesecake is one of those desserts that feels like a celebration every time. The effort pays off in flavor, texture, and wow-factor. Bake it for someone special—or yourself. You deserve it.