The Show-Stopping Purple Velvet Cake
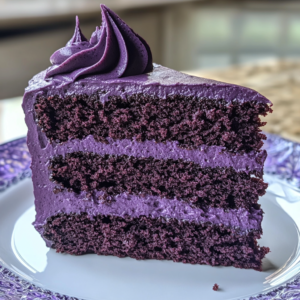
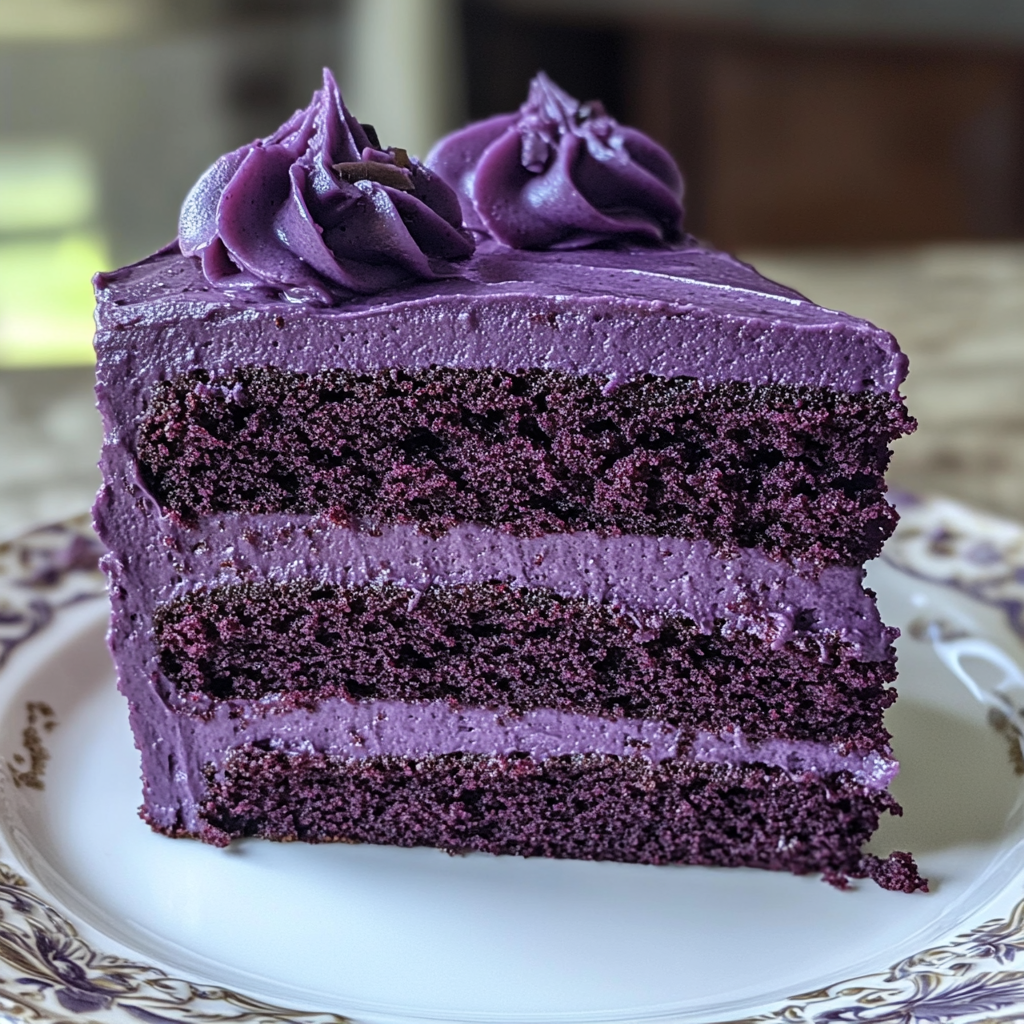
Picture this: You’re walking into a room carrying a cake that stops conversations mid-sentence. A cake so stunning, with its deep purple layers and creamy frosting, that phones immediately come out for pictures. That’s what we’re creating today – a Purple Velvet Cake that’s equal parts delicious and dramatic.
A Touch of History While everyone knows red velvet cake, here’s a fun bit of cake trivia: velvet cakes first appeared in the 1800s, when clever bakers discovered that cocoa powder could create an incredibly soft, velvety texture. We’re taking that same luxurious texture and giving it a modern, purple twist that would make those Victorian bakers’ heads spin.
Why Purple? Because why not? Sometimes you want a cake that breaks the rules a little. This isn’t just another chocolate cake or vanilla layer cake – it’s a conversation starter, an Instagram star, and most importantly, a delicious dessert all rolled into one.

Let’s Get Baking
The Cast of Characters:
For Your Cake Layers:
- 2½ cups all-purpose flour
- 1½ cups granulated sugar
- 1 teaspoon each of baking soda, salt, and cocoa powder
- 1½ cups vegetable oil
- 1 cup buttermilk
- 2 large eggs
- 2 teaspoons vanilla extract
- 1 tablespoon purple gel food coloring (yes, gel is important!)
For That Dreamy Frosting:
- 8 ounces cream cheese, softened
- ½ cup unsalted butter, also softened
- 4 cups powdered sugar
- 1 teaspoon vanilla extract

The Magic Process
Getting Started First things first – crank that oven to 350°F and grease two 9-inch cake pans like you mean it. Nothing ruins a beautiful cake faster than having it stick to the pan!
Making Your Purple Wonder Mix your dry ingredients in one bowl – that’s your flour, sugar, baking soda, salt, and cocoa powder. In goes the wet team: oil, buttermilk, eggs, vanilla, and that all-important purple food coloring. Mix until it’s smooth, but don’t go overboard – we’re making cake, not bread.
Baking Time Pour your gorgeous purple batter evenly between your pans and slide them into the oven for about 25-30 minutes. You’ll know they’re done when a toothpick comes out clean and the kitchen smells amazing.
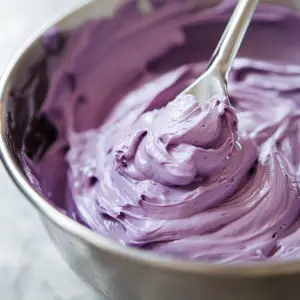
Frosting Magic While your cakes cool (patience!), beat together your cream cheese and butter until they’re best friends. Add the powdered sugar gradually – unless you want to redecorate your kitchen in white – and a splash of vanilla. Beat until it’s silky smooth.
Assembly Time This is where you can let your creativity shine. Stack those layers with a generous helping of frosting between them, then frost the whole cake. Whether you go for smooth and elegant or swirly and dramatic is entirely up to you.
Pro Tips for Purple Perfection
- Always use gel food coloring – liquid food coloring can make your batter too thin
- Room temperature ingredients are your friends – they’ll blend better and give you a smoother cake
- Don’t overbeat the batter unless you’re going for purple rubber
- Let those layers cool completely before frosting, unless you enjoy cake avalanches
Serving Suggestions Want to take it over the top? Serve slices with:
- A scoop of vanilla ice cream
- Fresh berries (blueberries and blackberries keep the purple theme going)
- A tall glass of cold milk or a perfect cup of coffee
Keeping It Fresh Your masterpiece will stay fresh in the fridge for up to 5 days. You can even freeze slices for up to two months – just wrap them well and thaw in the fridge overnight when the craving hits.
The Beauty of Purple Velvet What makes this cake special isn’t just its striking color – it’s how it brings people together. There’s something about slicing into those purple layers that makes everyone smile, gasp, or both. It’s more than just dessert; it’s an experience.
Whether you’re baking for a birthday, a holiday, or just because it’s Tuesday, this Purple Velvet Cake is your ticket to creating a moment people won’t forget. So preheat that oven, embrace your inner artist, and get ready to make some purple magic happen in your kitchen.
Happy baking! And remember – sometimes the most memorable desserts are the ones that dare to be different.
Common Questions & Helpful Tips
“Help! Can I use regular food coloring?” While you can use liquid food coloring in a pinch, gel coloring is your best friend here. It gives you that stunning purple color without making your batter runny. Think of it as an investment in your cake’s wow factor.
“Can I make this ahead of time?” Absolutely! In fact, breaking up the process can make it less stressful. Bake your layers a day ahead, wrap them well, and let them hang out at room temperature overnight. Then frost and decorate the next day when you’re fresh and ready to unleash your creativity.
“What if I don’t have buttermilk?” No need to run to the store! Here’s a quick fix: pour 1 tablespoon of lemon juice or vinegar into a measuring cup, then add enough milk to make 1 cup. Give it 5 minutes to do its thing, and voilà – homemade buttermilk!
Pro Tips for Perfect Purple Velvet
Getting That Perfect Purple Start with 1 tablespoon of gel food coloring and adjust from there. Remember, you can always add more, but you can’t take it out. Think of it like adding salt to soup – start conservatively and taste (or in this case, look) as you go.
Setting Yourself Up for Success
- Line those cake pans with parchment paper. Trust me, future you will be so grateful when the cakes slide right out.
- If your frosting consistency isn’t quite right, don’t panic: Too thick? Add a tiny splash of milk. Too thin? A bit more powdered sugar will fix it right up.
Make It Your Own Want to take your cake from beautiful to spectacular? Try:
- A sprinkle of edible glitter for some sparkle
- Fresh flowers for an elegant touch
- Chocolate shavings for added texture and flavor
- Or all of the above – sometimes more is more!
The Secret to Perfect Serving Here’s a tip that makes a big difference: let your cake warm up a bit before serving. About 20-30 minutes at room temperature lets the flavors bloom and gives you that perfect, velvety texture we’re after.
A Note About Storage Freezing a whole frosted cake can be tricky. Instead, freeze the unfrosted layers wrapped tightly in plastic. They’ll keep for up to two months, ready whenever inspiration (or a cake craving) strikes.
The Most Important Thing Remember, baking should be fun! Don’t stress too much about perfection. Even if your purple isn’t exactly the shade you imagined or your frosting swirls aren’t bakery-perfect, you’re still creating something special. The joy of homemade cake is in the love and effort you put into it – and trust me, everyone can taste that.
Now go forth and create your purple masterpiece! And if you run into any questions along the way, remember: even the most experienced bakers were beginners once. Every cake is a chance to learn something new and have fun in the process. Happy baking!
