Let me tell you about the Great Chicken Disaster of 2019. My then-fiancé (now husband) announced his parents were coming over for their first official visit to our new apartment. I, wanting to impress, decided to make a “fancy” roasted chicken. I’d seen it on TV—golden brown, juicy, looking like it belonged on a magazine cover. What I produced was a不同 story. It looked like a charcoal briquette that had survived a volcano. The smoke alarm sang soprano, the dog hid, and I nearly cried into the sad, dry bird on the platter. We ordered pizza. His parents were lovely about it, but I knew I had to get serious in the kitchen. That failure was the catalyst. I needed a chicken recipe that was foolproof, flavorful, and couldn’t possibly go wrong. Enter my now-obsession: Garlic Butter Baked Chicken. It’s not just a recipe; it’s my culinary redemption story, my go-to weeknight hero, and the dish that made me believe I could actually cook. Today, I’m sharing that secret with you.
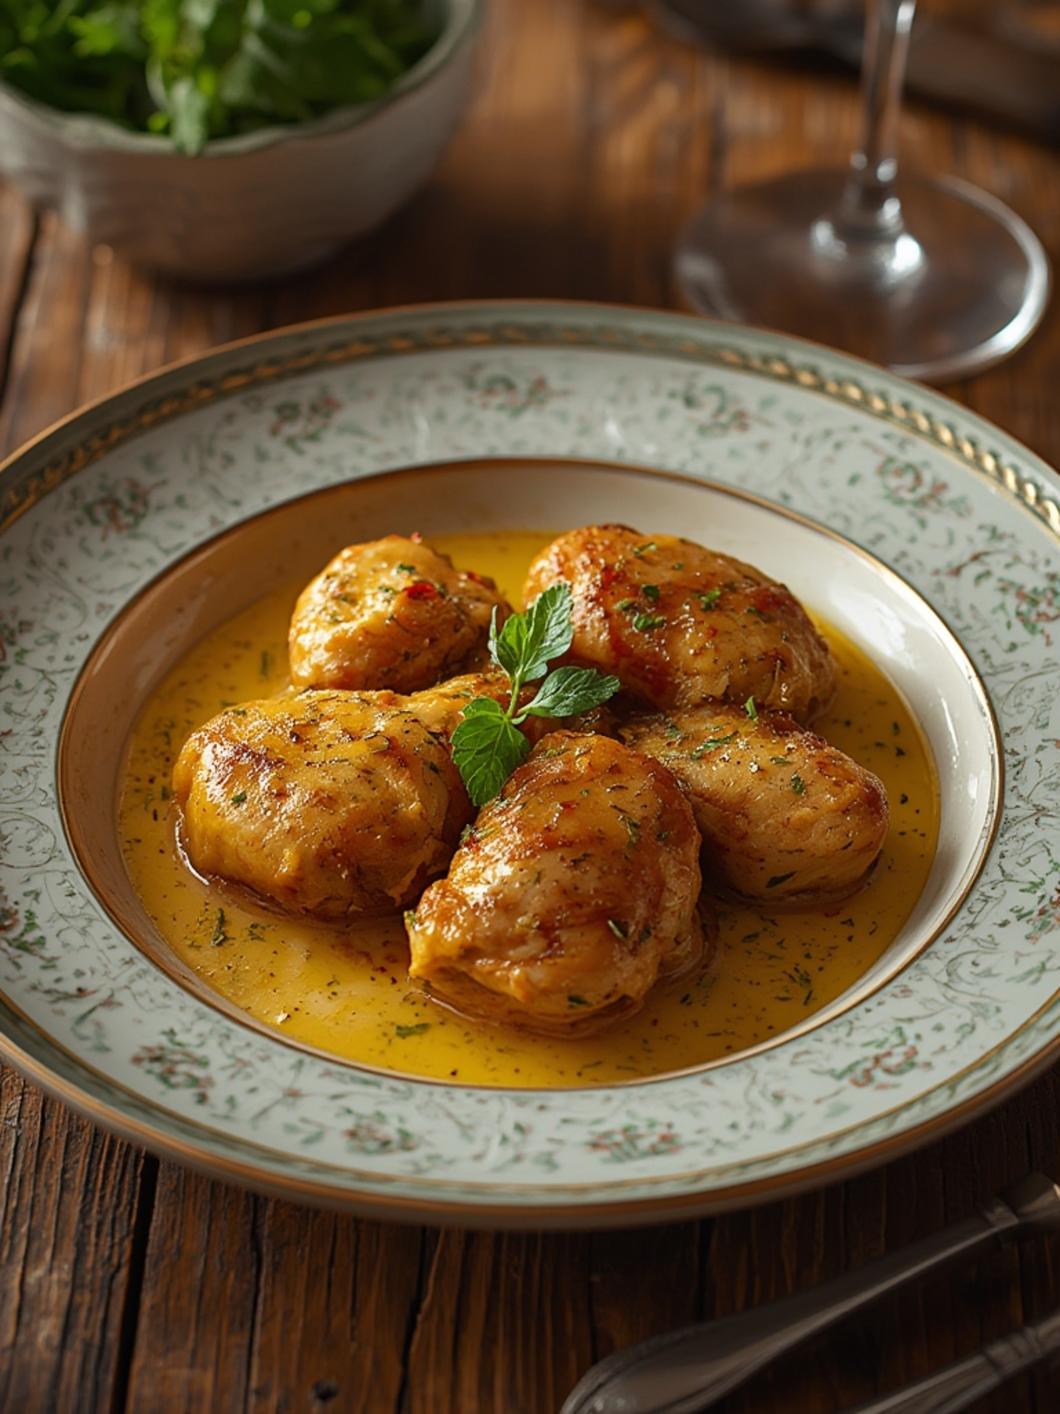
The magic is in the name: Garlic Butter Chicken. It sounds simple because it is, but the combination of garlic, butter, herbs, and the right technique transforms a humble chicken breast into something elegantly delicious and impossibly juicy. The first time I made it, following a cryptic note from my grandma, I was shocked. No basting, no guessing, just pure, focus keyword magic that came out perfect every single time. It’s the ultimate confidence booster for any home cook.
Materials & Supplies
Okay, let’s round up the troops! Don’t worry, this is a minimalist’s dream. You probably have 90% of this stuff right now.
For the Chicken & Marinade:
Chicken: 4 boneless, skinless chicken breasts (about 6 oz each). Pro tip: Look for uniform thickness so they cook evenly.*
Butter: 4 tablespoons (1/2 stick) unsalted butter. Yes, we use the real stuff. It’s the foundation of flavor!*
Garlic: 6-8 cloves, finely minced. Don’t use the pre-chopped stuff in a jar—the flavor is worlds different. Trust me.*
Olive Oil: 1 tablespoon. Helps the butter mixture coat everything and adds a fruity note.*
Lemon: Zest of one lemon + 1 tablespoon juice. The zest is KEY! It adds bright, aromatic oil that the juice alone can’t.*
Herbs: 1 tablespoon fresh parsley, chopped (or 1 tsp dried). Italian herbs or thyme work great too. Get creative!*
- Seasonings: 1 teaspoon salt, 1/2 teaspoon black pepper, 1/2 teaspoon paprika (smoked paprika is a game-changer).
Optional but Highly Recommended:
- Chicken broth or white wine: ½ cup, for deglazing the pan later (makes an incredible sauce!).
- Crushed red pepper flakes: A pinch for a little kick.
- Parmesan cheese: To finish, if you’re feeling decadent.
Kitchen Tools:
- A good baking sheet or a 9×13 inch baking dish.
- Parchment paper or foil (for easy cleanup—non-negotiable for me!).
- Small saucepan or microwave-safe bowl for the butter sauce.
- Meat thermometer (if you have one—it’s the ultimate insurance against dry chicken).
- Sharp knife and cutting board.
- Tongs for flipping.
Timing / Cooking Schedule
- Prep Time: 15 minutes (mixing the sauce, seasoning the chicken).
- Cook Time: 20-25 minutes in the oven.
- Total Time: About 40 minutes from start to finish.
Honestly, the first time I made this, it took me double this time! I was so nervous about not burning it again that I hovered, checked the oven every 5 minutes, and second-guessed every step. Now, I set the timer, pour a glass of wine, and trust the process. That’s the beauty of this Garlic Butter Baked Chicken—it’s set-it-and-forget-it friendly, which is everything when you’re hosting or just had a long day.
Step-by-Step Instructions
1. Prep & Preheat.
Preheat your oven to 375°F (190°C). Line your baking sheet/dish with parchment paper or foil for the easiest cleanup ever. This is my #1 tip for sanity.
2. Dry & Season.
Pat your chicken breasts very dry with a paper towel. This is non-negotiable for good browning. Moisture is the enemy of a golden crust. Then sprinkle both sides generously with salt and pepper.
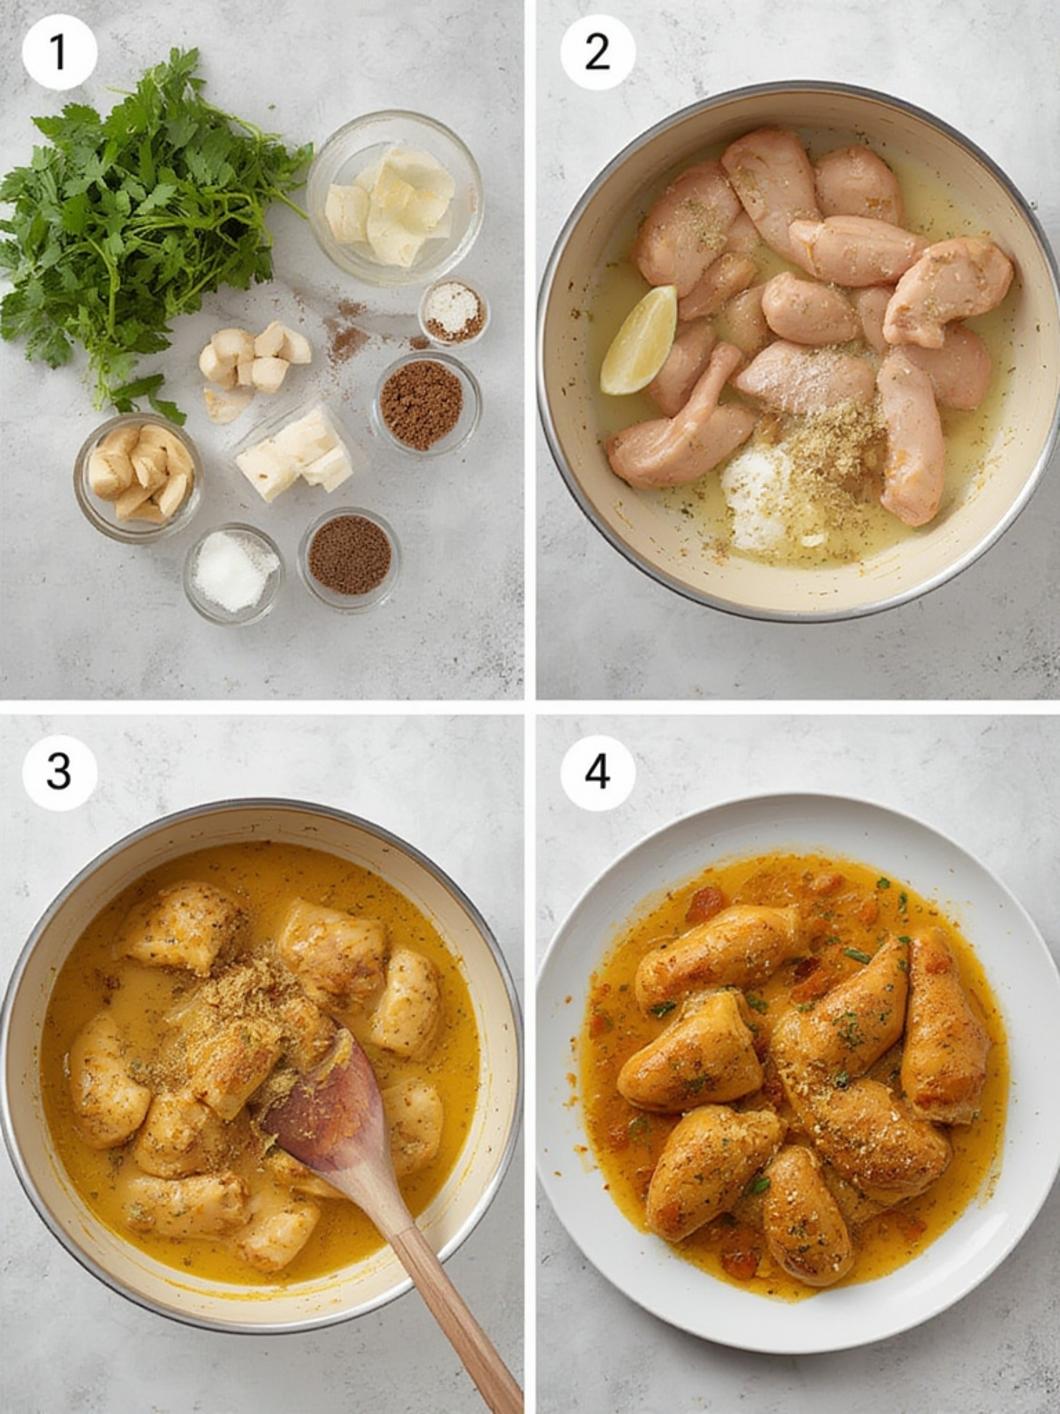
3. Make the Garlic Butter Sauce.
In a small saucepan or microwave-safe bowl, melt the butter over low heat. Add the minced garlic and cook for just 60 seconds until fragrant—don’t let it brown! Stir in the olive oil, lemon zest, lemon juice, and chopped parsley. I made the mistake of skipping the zest once and regretted it! The sauce tasted flat and one-dimensional. The lemon oil from the zest makes all the difference.
4. Coat & Bake.
Place the dried chicken on your prepared sheet. Spoon about 2/3 of the garlic butter sauce over the top, rubbing it in to coat. Reserve the rest for later. Bake uncovered for 20-25 minutes, or until the chicken reaches an internal temperature of 165°F (74°C). Cooking time will depend on thickness.
5. Finish & Rest.
Remove the chicken from the oven. If you’re using broth/wine for a pan sauce, now’s the time—pour it into the hot pan, scrape up any browned bits with a wooden spoon, and simmer for 2 minutes. Stir in the remaining garlic butter sauce. Pour this luscious sauce over the chicken. Let it rest for 5 minutes! I’ve been guilty of slicing into it immediately, only to watch all the beautiful juices run onto the cutting board. Patience, my friend. It’s worth it.
Nutritional Benefits / Advantages
Look, I’m not saying this is a “diet food,” but it’s a real food powerhouse. You’re getting a lean, high-quality protein source. The garlic has immune-supporting compounds, lemon provides vitamin C, and parsley is packed with vitamins K and A. The healthy fats from olive oil and butter (in moderation) help with nutrient absorption. My doctor was actually surprised when I told him I make this heart-healthy-ish meal at home every week instead of opting for takeout. It’s free from preservatives, excess sugar, and mysterious additives. You control every ingredient, and it tastes a million times better. It’s comfort food that doesn’t have to wreck your week.
Tips, Alternative Methods or Cooking Advice
For Extra Crispy Skin: If you can find chicken breasts with skin on*, use them! Render the skin first by starting the chicken skin-side up in a hot, oiled skillet for 3-4 minutes until golden, then flip and transfer the whole pan to the oven to finish. The result is shatteringly crispy skin.
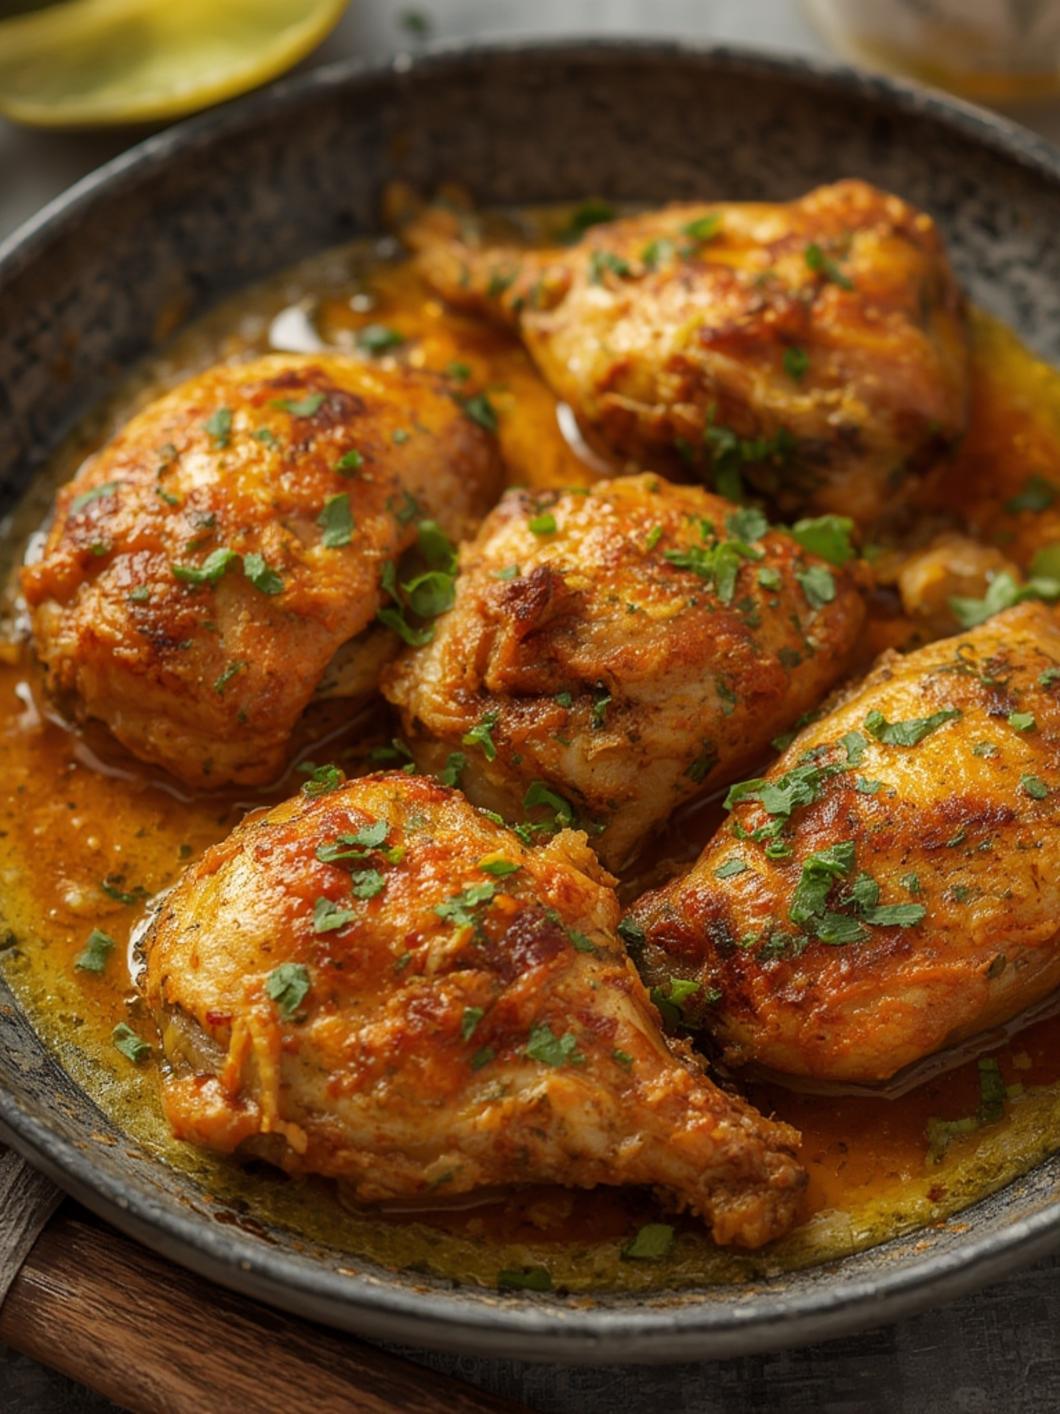
- Chicken Thighs Version: Bone-in, skin-on chicken thighs are even more forgiving and juicier. Increase cook time to 35-40 minutes. They’re a fantastic, cheaper alternative.
- One-Pan Wonder: After baking, use the same pan on the stovetop to make the pan sauce as described. Everything gets infused with that roasted chicken flavor.
- Marinade Option: For even deeper flavor, you can mix the garlic butter sauce and coat the chicken, then marinate for 30 minutes (or up to 2 hours in the fridge) before baking. Just let it come to room temp before going in the oven.
- No Fresh Herbs? Dried herbs work great—just use 1/3 the amount since they’re more concentrated. Add them with the garlic in step 3.
Common Mistakes to Avoid
The biggest one? Not drying the chicken. I did this once after washing my hands mid-prep and just patted it a little. The result? Chicken that steamed in its own moisture instead of roasting. It was pale, a bit soggy, and just… sad. The butter sauce just slid right off. Take an extra 30 seconds to really pat it bone-dry. Your future self will thank you.
Another: Overcooking it. Chicken breast is lean! It goes from juicy to dry faster than you’d think. That meat thermometer is a hero. If you don’t have one, check for doneness by making a small cut in the thickest part—the juices should run clear, not pink. It’s better to be slightly under and let residual heat finish it during the rest period.
Storage / Maintenance Tips
This keeps beautifully! Let the chicken cool completely, then store it in an airtight container in the fridge for 3-4 days. Important: Pour any extra pan sauce over the chicken in the container—this is liquid gold that keeps it moist. To reheat, I pop it in a 300°F oven for 15 minutes, tented with foil, or gently in a skillet with a splash of broth or water. The microwave is a last resort and will make it rubbery if you’re not careful (use low power, short bursts). The sauce might separate a bit—just stir it back together over low heat.
Conclusion
That burned chicken from 2019 feels like a lifetime ago. Now, whenever I make this Garlic Butter Chicken, I’m reminded that great cooking isn’t about perfection on the first try; it’s about finding one solid, reliable technique that builds your confidence. This recipe did that for me. It’s the dish I make when I need a win, when I’m feeding a crowd on a budget, or when I just want a restaurant-quality meal without the fuss. It’s become a weekly ritual. I hope it becomes one for you, too. Make it, savor it, and let me know in the comments how it turned out for you. Your own little success story starts with a pat of butter and a few cloves of garlic.
FAQs
Q: My garlic is burning in the butter! What do I do?
A: You’re overheating it! Melt the butter on LOW heat, add the garlic, and cook for just 60 seconds until fragrant. If it starts to brown, take it off the heat immediately. You just want to infuse the butter, not fry the garlic.
Q: Can I use chicken tenders instead of breasts?
A: Absolutely! They cook even faster. Check them after 12-15 minutes. They’re perfect for quick tacos, salads, or wraps.
Q: Is the lemon juice necessary?
A: It balances the richness of the butter beautifully. But if you hate lemon, you can leave it out and maybe add a splash of white wine or chicken broth to the sauce for a bit of acidity.
Q: My chicken cooked too fast on the outside but is raw inside. Help!
A: Your oven might run hot, or your breasts were very thin. Next time, pound them to an even ½-inch thickness. Also, always use a meat thermometer—it’s the only way to know for sure. If this happens, just slice and finish the chicken in a hot skillet with a little sauce.
Q: Can I make this ahead?
A: You can prep the sauce and dry the chicken ahead, store separately in the fridge, and then bake fresh. Cooked chicken is best day-of, but leftovers are still fantastic for meal prep.