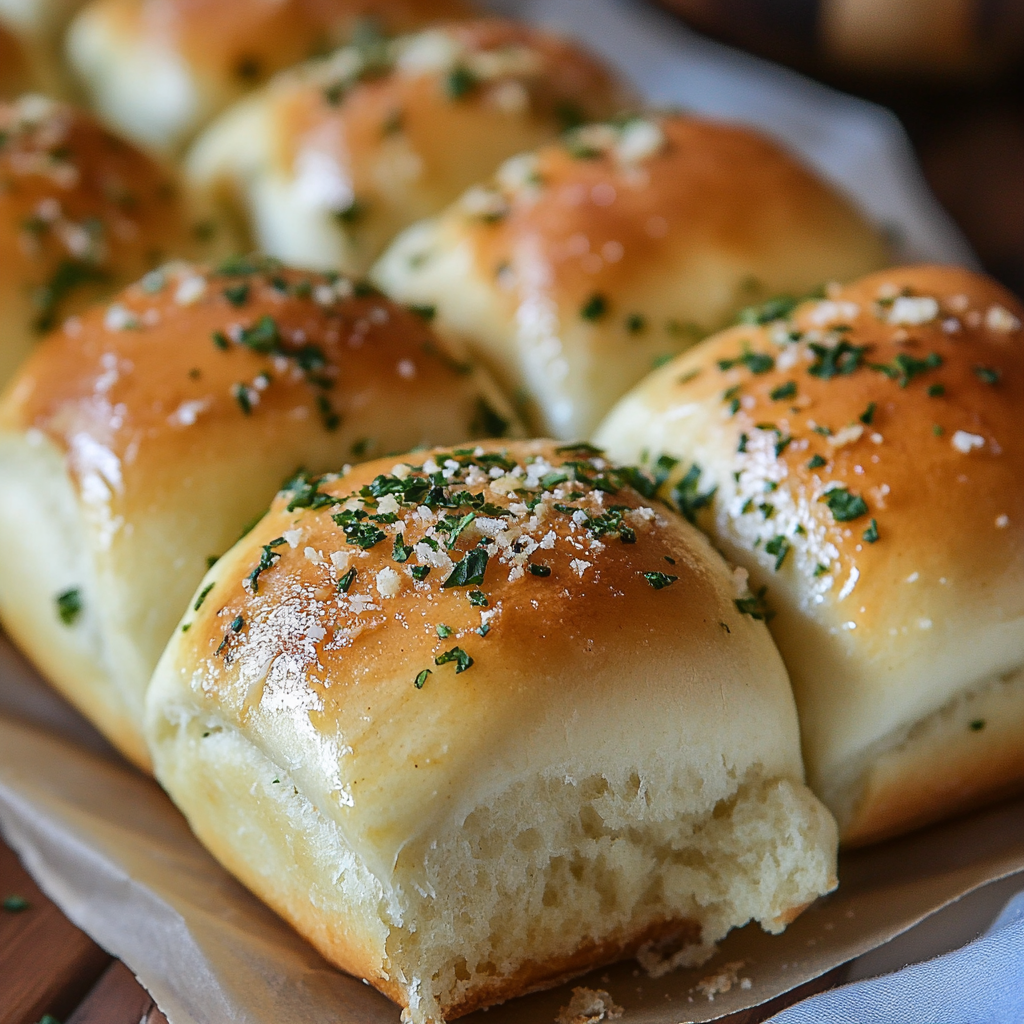
The Best Homemade Garlic Bread Rolls: A Family Recipe That Changed My Life
After spending countless weekends experimenting with bread recipes in my tiny apartment kitchen, I can confidently say that these garlic bread rolls have become my signature dish. Every time I make them, they transport me back to Sunday dinners at my grandmother’s house, where the aroma of freshly baked bread and roasted garlic would fill every corner of her home.
Let me tell you a little secret – I wasn’t always confident in the kitchen. My first attempt at making bread was nothing short of a disaster (think dense, hockey puck-like rolls that even my dog wouldn’t touch). But through years of trial and error, I’ve perfected these garlic bread rolls, and I’m excited to share this foolproof recipe with you.
Why These Garlic Bread Rolls Are Different
Trust me, I’ve tried every garlic bread recipe on the internet. Some were too complicated, others lacked flavor, and many left me with disappointing results. What makes this recipe special is its simplicity combined with a few clever tricks I’ve learned along the way.
The magic lies in two key steps that most recipes miss: letting the garlic infuse into the butter while the dough rises (this creates an incredible depth of flavor), and brushing the rolls with olive oil before baking for that perfect golden crust. These small details make a world of difference.
The Story Behind These Rolls
I discovered this recipe’s winning combination during a particularly challenging dinner party I hosted three years ago. My usual go-to bread recipe had failed (thanks to expired yeast – always check those dates!), and I had to improvise with what I had in my pantry. Sometimes the best recipes come from these moments of kitchen crisis, don’t they?
What You’ll Need
Here’s what you’ll need to make these rolls (I’ve tested multiple brands and variations, and these specific ingredients yield the best results):
For the Dough:
- 2½ cups all-purpose flour (King Arthur is my go-to)
- 1 packet active dry yeast (2¼ teaspoons)
- 1 cup warm milk (I use whole milk for richness)
- 2 tablespoons sugar
- 1 teaspoon salt
- 4 tablespoons unsalted butter, softened
For the Garlic Butter Coating:
- 4 cloves fresh garlic, minced (please don’t use the pre-minced stuff!)
- 2 tablespoons fresh parsley, finely chopped
- 2 tablespoons olive oil
- Extra butter for brushing (trust me on this)

Step-by-Step Instructions (With All My Tips and Tricks)
- Start With the Yeast Remember my expired yeast disaster? Now I always proof my yeast first. Mix it with warm milk (think baby-bottle temperature) and sugar. Wait 5 minutes – if it’s not foamy, start over with fresh yeast.
- Make the Dough Here’s where most people go wrong – they add too much flour. Start with 2 cups and add the remaining ½ cup gradually. The dough should be slightly sticky but manageable. I knead by hand for about 8-10 minutes while catching up on my favorite podcast.
- First Rise Place your dough in a greased bowl (I use olive oil), cover with a damp kitchen towel, and let it rise somewhere warm for an hour. Pro tip: I turn my oven on for 1 minute, turn it off, and use that as my proving drawer.
- Shape Those Beauties After the dough has doubled, divide it into 12 pieces. Here’s my grandmother’s trick: pull the edges of each piece toward the center and pinch them together, then roll seam-side down. This creates the perfect round shape every time.
- The Garlic Butter Magic While the rolls do their second rise, make the garlic butter. I mince my garlic super fine and mix it with melted butter and parsley. Let this sit – the flavors will develop beautifully.
The Game-Changing Tips I Wish I’d Known Earlier
- Temperature Matters Your milk should be around 110°F (43°C). Too hot kills the yeast, too cold and it won’t activate. I use the wrist test – it should feel warm but not hot.
- Fresh Is Best Fresh garlic and parsley make a huge difference. I tried using dried herbs once – big mistake. The flavor just wasn’t the same.
- Don’t Rush the Rise I know it’s tempting to speed things up, but patience pays off. Each rise develops flavor and texture.
Serving Suggestions (From My Table to Yours)
These rolls have become the star of my dinner parties. They pair beautifully with:
- My winter vegetable soup (recipe coming soon!)
- Any pasta dish (especially my weeknight marinara)
- Sunday roast dinners
- Or honestly, just on their own with a bit of extra garlic butter
Storage Tips (If They Last That Long!)
In my house, these rarely make it to the next day, but when they do:
- Store at room temperature in an airtight container for up to 2 days
- Reheat in the oven for 5 minutes at 350°F
- They freeze beautifully – just thaw and warm before serving
Final Thoughts
After making these rolls hundreds of times, I can tell you that they’re more than just bread – they’re a way to create memories. Whether you’re a beginner baker or a seasoned pro, this recipe won’t let you down. The look on people’s faces when they bite into these warm, buttery rolls makes all the effort worth it.
Remember, baking is a journey, and every “failed” attempt teaches you something new. So don’t be afraid to get your hands dirty, and let me know in the comments how these turn out for you. I love hearing your stories and adaptations!
Happy baking!
P.S. Still have questions? Drop them in the comments below – I check and respond to everyone’s queries because I want you to succeed with this recipe as much as I have!
Frequently Asked Questions
After sharing this recipe on my blog, these are the most common questions I get from readers:
Q: Can I use instant yeast instead of active dry yeast? A: Absolutely! If using instant yeast, you can skip the proofing step and add it directly to your dry ingredients. Reduce the amount to 1¾ teaspoons since instant yeast is more concentrated.
Q: My rolls turned out dense. What went wrong? A: Dense rolls usually mean either the dough didn’t rise long enough or the yeast wasn’t active. Make sure your yeast is fresh and your milk is warm (not hot). Also, avoid adding too much flour – a slightly sticky dough will give you lighter rolls.
Q: Can I make these ahead of time? A: Yes! You can prepare the dough the night before and let it rise slowly in the refrigerator. Just bring it to room temperature before shaping the rolls. You can also freeze the shaped, unbaked rolls for up to 3 months.
Q: How do I know when the rolls are done baking? A: Look for a golden brown top and a hollow sound when you tap the bottom of a roll. If you have a kitchen thermometer, the internal temperature should read 190°F (88°C).
Q: Can I use milk alternatives? A: Yes! I’ve successfully made these with almond milk and oat milk. The texture might be slightly different, but they’re still delicious. Just make sure to use unsweetened varieties.
Q: My garlic turned blue! Is this safe? A: Don’t worry! This sometimes happens when garlic reacts with acids or minerals in other ingredients. The rolls are perfectly safe to eat. To prevent this, use fresh garlic and avoid pressing it too far in advance.
Recipe Notes
- Prep Time: 2 hours (including rise time)
- Cook Time: 20-25 minutes
- Total Time: 2 hours 25 minutes
- Yield: 12 rolls
- Difficulty Level: Medium
- Storage: 2 days at room temperature, 5 days refrigerated
Pro Tips I’ve Learned Over the Years
- Weighing Ingredients: For the most consistent results, weigh your flour. 2½ cups equals approximately 300 grams.
- Room Temperature Matters: If your kitchen is cold, place the covered dough near (not on) a preheating oven or in a sunny spot.
- Make Ahead Option: Shape the rolls and refrigerate overnight for fresh-baked rolls in the morning.
- Freezer-Friendly: These rolls freeze beautifully both before and after baking. Just thaw overnight in the refrigerator.
Conclusion
After years of baking these garlic bread rolls, I can honestly say they’ve never let me down. They’ve been present at countless family dinners, holiday celebrations, and casual gatherings. The recipe has evolved slightly over time as I’ve discovered new techniques and tricks, but the core remains the same: simple ingredients combined with care and patience create something truly special.
What started as a simple bread recipe has become a cherished part of my cooking repertoire. I hope these rolls bring as much joy to your table as they have to mine. Remember, baking is both a science and an art – don’t be afraid to experiment and make this recipe your own.
If you try this recipe, I’d love to hear how it turned out! Share your experiences in the comments below, and don’t forget to tag your photos with