There’s something profoundly comforting about the smell of chocolate chip cookies baking in the oven. It’s the scent of home, of after-school snacks, of rainy Saturday afternoons, of grandma’s house. These aren’t just any chocolate chip cookies—they’re Family Time Chocolate Chip Cookies, and they’ve earned that name through countless batches baked for (and with) the people I love most.
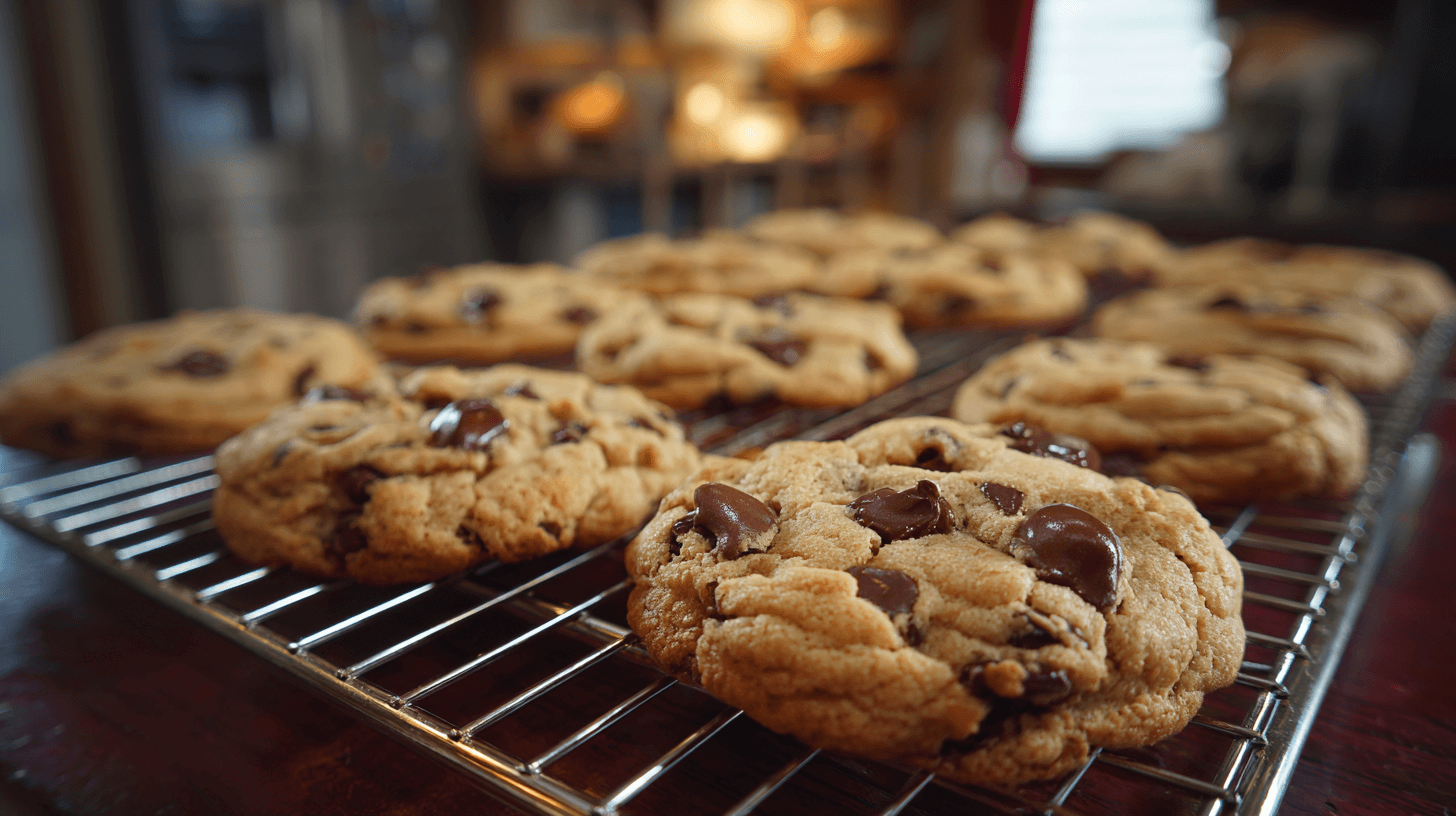
I created this recipe through a combination of classic techniques and special touches learned from three generations of family bakers. The result? Cookies with crispy golden edges, chewy centers, pools of melted chocolate in every bite, and that elusive perfect texture that makes you reach for “just one more.” Make a batch of these, and you’ll understand why the title calls them pure happiness.
Why These Family Time Cookies Are Special
What distinguishes these chocolate chip cookies from the hundreds of other recipes out there? It’s the careful balance of ingredients that creates multiple textures in one cookie—that crispy edge that shatters just slightly when you bite into it, followed immediately by a soft, almost gooey center studded with melted chocolate. It’s the slight hint of brown sugar that adds depth and chewiness. It’s the way they stay soft for days (if they last that long).
Most importantly, it’s the memories attached to them. These are the cookies I make when my kids have friends over. The ones I bake when someone needs comfort. The ones my daughter requests instead of birthday cake. The ones my son makes with his own children now. They’re happiness in cookie form, and they bring families together—hence the name.
The Secret to Perfect Chocolate Chip Cookies
The secret to truly exceptional chocolate chip cookies lies in a few key factors that many recipes overlook. First, brown butter—taking an extra five minutes to brown your butter adds incredible nutty depth to the flavor. Second, using a combination of white and brown sugar creates both crispness and chewiness. Third, resting the dough overnight allows the flour to fully hydrate and flavors to develop. Finally, using high-quality chocolate chunks (not chips) creates those desirable pools of melted chocolate.
I stumbled onto the brown butter technique by accident years ago when I was distracted and let my butter brown on the stove. Instead of starting over, I decided to forge ahead, and the resulting cookies were so superior to my usual batch that I’ve browned the butter ever since. It’s one of those happy accidents that completely transformed my baking.
Ingredients for Family Time Chocolate Chip Cookies
This recipe makes about 24 large or 36 medium cookies. Here’s what you’ll need:
Cookie Dough:
- 1 cup (2 sticks) unsalted butter
- 2¼ cups all-purpose flour
- 1 teaspoon baking soda
- 1 teaspoon salt
- 1 cup packed light brown sugar
- ½ cup granulated white sugar
- 2 large eggs, room temperature
- 2 teaspoons pure vanilla extract
- 2 cups chocolate chunks or chips (mix of dark and semi-sweet)
- 1 cup chopped walnuts or pecans (optional)
Special Touch:
- Flaky sea salt for topping (optional but amazing)
- Extra chocolate chunks for pressing into the tops
Step-by-Step Instructions for Cookie Happiness
Creating Your Chocolate Chip Cookie Dough
Step 1: Brown the Butter Cut butter into pieces and place in a medium light-colored saucepan (the light color helps you see when the butter browns). Melt over medium heat, swirling occasionally. Continue cooking as the butter foams and bubbles. Watch carefully—the milk solids will sink to the bottom and turn golden brown, releasing a nutty aroma. This takes 5-7 minutes total. Pour into a bowl, including all those brown bits, and let cool
for 10 minutes.
Step 2: Mix Dry Ingredients In a medium bowl, whisk together flour, baking soda, and salt. Set aside. This pre-mixing ensures even distribution of leavening agents throughout your cookies.
Step 3: Cream Sugars and Butter Add both sugars to the cooled (but still liquid) brown butter. Using an electric mixer, beat on medium speed for 2-3 minutes until the mixture is light and fluffy. The sugar won’t fully dissolve—that’s perfect.
Step 4: Add Eggs and Vanilla Add eggs one at a time, beating well after each addition. Add vanilla and mix until fully incorporated. Scrape down the sides of the bowl to ensure everything is evenly mixed.
Step 5: Incorporate Dry Ingredients Add the flour mixture all at once. Mix on low speed just until no white streaks remain. Don’t overmix—you want tender cookies, not tough ones.
Step 6: Add the Chocolate Fold in chocolate chunks (and nuts if using) with a rubber spatula or wooden spoon. Make sure they’re evenly distributed throughout the dough. Reserve a handful of chocolate chunks for pressing into the tops later.
Step 7: The Magic Rest Cover the bowl with plastic wrap and refrigerate for at least 2 hours, preferably overnight. This rest period is magical—it allows the flour to fully hydrate, the flavors to meld, and results in thicker, chewier cookies with more developed flavor.
Baking Your Family Time Cookies
Step 8: Prepare for Baking When ready to bake, preheat oven to 350°F (175°C). Line baking sheets with parchment paper or silicone baking mats. Don’t skip this—these cookies contain a lot of butter and can stick to unlined pans.
Step 9: Shape the Cookies Using a cookie scoop or spoon, portion the dough into balls (about 2 tablespoons each for large cookies, 1 tablespoon for medium). Roll them smooth between your palms. Place on prepared baking sheets about 3 inches apart—they will spread quite a bit.
Step 10: Add Extra Chocolate Press 3-4 reserved chocolate chunks into the top of each dough ball. This ensures every cookie has those picture-perfect pools of visible chocolate on top.
Step 11: The Salt Touch If using flaky sea salt, sprinkle just a tiny pinch on top of each cookie. This might seem unusual, but the salt enhances the sweetness and adds a sophisticated flavor dimension that makes these cookies truly special.
Step 12: Bake to Golden Perfection Bake for 11-14 minutes for medium cookies, 14-16 minutes for large cookies. The cookies are perfect when the edges are golden brown and set, but the centers still look slightly underdone and puffy. They’ll continue baking on the hot pan after you remove them from the oven.
Step 13: Cool Properly Let the cookies cool on the baking sheet for 5 minutes—they’ll be very soft and fragile when they first come out. Then transfer to a wire rack to cool completely (if you can wait that long).
Expert Tips for Perfect Chocolate Chip Cookies
After hundreds of batches, here’s what I’ve learned:
Brown Butter is Worth It: Yes, it’s an extra step, but the flavor improvement is dramatic. Don’t skip it!
Room Temperature Eggs Matter: Cold eggs don’t incorporate as well into the butter mixture. Leave them out for 30 minutes before baking.
Don’t Overbake: These cookies might look underdone when you take them out. Trust the timing—they’ll firm up as they cool.
Size Matters: Use a cookie scoop for uniform size. This ensures all cookies bake at the same rate.
Quality Chocolate Changes Everything: Buy good chocolate bars and chop them into chunks. The difference between premium chocolate and bargain-brand chips is night and day.
The Overnight Rest: This isn’t just a suggestion—it’s what transforms good cookies into exceptional ones. Plan ahead!
Sea Salt is Magic: That tiny pinch of flaky salt on top isn’t just trendy—it genuinely elevates the flavor. Try it!
Creative Variations on Chocolate Chip Cookies
Once you’ve mastered the basic recipe, try these fun variations:
Double Chocolate Chip: Replace ½ cup flour with ½ cup cocoa powder for chocolate cookies with chocolate chips.
Peanut Butter Chocolate: Add ½ cup peanut butter to the butter mixture and reduce butter to ¾ cup.
Kitchen Sink Cookies: Add ½ cup of any combination of butterscotch chips, toffee bits, coconut flakes, or M&Ms.
Espresso Chocolate Chip: Add 1 tablespoon instant espresso powder to the dry ingredients for mocha-flavored cookies.
White Chocolate Cranberry: Replace half the chocolate with white chocolate chunks and add ½ cup dried cranberries.
S’mores Cookies: Add crushed graham crackers and mini marshmallows along with the chocolate.
Salted Caramel Chocolate: Press a small piece of soft caramel into the center of each cookie before baking.
Serving Suggestions for Chocolate Chip Cookies
These versatile cookies work for any occasion:
- Warm from the oven with cold milk (the classic!)
- Ice cream sandwiches: Place a scoop of vanilla ice cream between two cookies
- Cookie sundaes: Warm a cookie and top with ice cream, hot fudge, and whipped cream
- Coffee break: Perfect afternoon pick-me-up with coffee or tea
- Lunch box treat: They transport beautifully and stay soft
- Gifts: Package in cellophane bags tied with ribbon
- Party platters: Everyone loves chocolate chip cookies
Storage Instructions
Room Temperature: Store in an airtight container for up to 5 days. They’ll stay soft and chewy if the container is properly sealed.
Refrigerator: Not recommended—refrigeration can make cookies stale faster.
Freezing Cookie Dough: Scoop dough balls onto a baking sheet and freeze until solid. Transfer to a freezer bag and freeze for up to 3 months. Bake directly from frozen, adding 2 minutes to baking time.
Freezing Baked Cookies: Layer cookies with parchment paper between layers in an airtight container. Freeze for up to 3 months. Thaw at room temperature or warm briefly in a low oven.
Pro tip: Always have cookie dough balls in your freezer. Fresh-baked cookies anytime = happiness on demand!
Nutritional Information
Per large cookie (based on 24 cookies):
- Calories: 220
- Total Fat: 12g
- Saturated Fat: 7g
- Cholesterol: 35mg
- Sodium: 160mg
- Total Carbohydrates: 27g
- Dietary Fiber: 1g
- Sugars: 18g
- Protein: 2g
Perfect Pairings for Chocolate Chip Cookies
These classic cookies pair wonderfully with:
Beverages:
- Cold whole milk (absolutely classic)
- Hot coffee or espresso
- Hot chocolate or cocoa
- Vanilla milkshakes
- Iced coffee
- Tea (black or chai)
Accompaniments:
- Vanilla ice cream
- Peanut butter for dipping
- Nutella spread
- Fresh berries
- Whipped cream
- Caramel sauce
Frequently Asked Questions About Chocolate Chip Cookies
Why did my cookies spread too much? The dough wasn’t chilled long enough, or your butter was too warm. Always chill the dough, and make sure your butter is properly cooled after browning.
My cookies are too flat/thin. What happened? Too much butter or sugar, not enough flour, or oven temperature too low. Measure ingredients carefully and verify oven temperature with an oven thermometer.
Can I skip browning the butter? You can just melt it and proceed, but you’ll lose that wonderful nutty depth of flavor. I don’t recommend skipping this step.
Why are my cookies cakey instead of chewy? Too much flour (did you scoop instead of spoon-and-level?), or eggs were too large. Use standard large eggs and measure flour carefully.
Can I use salted butter? You can, but reduce the added salt to ½ teaspoon to prevent overly salty cookies.
How do I get those perfect pools of melted chocolate? Use chocolate chunks (not chips), and press extra chunks into the tops of shaped dough balls before baking.
Can I make these without nuts? Absolutely! The nuts are completely optional. The cookies are delicious either way.
Troubleshooting Chocolate Chip Cookies
Cookies Spread Too Thin: Dough too warm, too much butter, or oven too cool. Chill dough longer and verify oven temp.
Hard, Crispy Cookies: Overbaked, or too much white sugar vs. brown sugar. Bake for less time and check proportions.
Greasy Cookies: Too much butter, or butter wasn’t cooled enough after browning. Follow measurements precisely.
Raw Centers: Oven too hot (cookies brown before centers cook), or cookies too large. Lower temperature or make smaller cookies.
Bland Flavor: Forgot salt, or didn’t brown the butter. Both are essential for maximum flavor.
Conclusion: Happiness in Cookie Form
These Family Time Chocolate Chip Cookies truly are pure happiness. Every batch brings back memories of baking with my grandmother, teaching my children to measure ingredients, that first warm cookie fresh from the oven on a Sunday afternoon. They’re more than just a recipe—they’re a tradition, a comfort, a way of showing love.
What makes these cookies special isn’t just the crispy edges and chewy centers, or even that incredible brown butter flavor. It’s what they represent: time spent together in the kitchen, the anticipation as they bake, the joy of sharing something warm and sweet with the people you love. Baking is an act of love, and chocolate chip cookies are love’s most accessible expression.
Since perfecting this recipe, I’ve made literally hundreds of batches. I’ve baked them for school fundraisers, neighborhood gatherings, holiday parties, and simple Tuesday nights when everyone needs a little pick-me-up. I’ve taught this recipe to my children, who now make them for their own families. These cookies have become part of our family story, and now I’m honored to share them with yours.
My Personal Tip: Make this recipe with your kids, your partner, your friends, or even by yourself with music playing. The act of making cookies is almost as satisfying as eating them. And here’s my secret: I always make a double batch. One for now, one batch of dough balls for the freezer. That way, whenever life calls for fresh-baked cookies (which is surprisingly often), I’m just 15 minutes away from warm chocolate chip perfection. Store those frozen dough balls in a zip-top bag, and you’ll have happiness on demand. Trust me on this—your future self will thank you when unexpected guests arrive, someone needs cheering up, or you simply decide that Tuesday afternoon calls for fresh-baked cookies. Because honestly, any time is the right time for Family Time Chocolate Chip Cookies!