Every December, my kitchen transforms into a holiday baking wonderland, and these candy cane cookies have become the star of my Christmas cookie collection. I first discovered this recipe five years ago when my daughter’s school requested festive treats for their holiday party. The moment I pulled that first batch from the oven, with their cheerful red and white swirls glistening with sparkling sugar, I knew I’d found something truly special.
What makes these candy cane cookies so beloved isn’t just their stunning appearance—though they certainly photograph beautifully—it’s the delicate peppermint flavor combined with a tender, buttery texture that melts on your tongue. Unlike many decorated cookies that prioritize looks over taste, these deliver on both fronts, making them the perfect addition to any holiday cookie platter.
Why These Candy Cane Cookies Are a Holiday Essential
This candy cane cookies recipe has earned its place as a Christmas tradition in my household for countless reasons. The visual impact alone is remarkable—those beautiful red and white spirals instantly evoke the festive spirit and bring smiles to everyone who sees them.
Beyond their appearance, these cookies offer a perfectly balanced peppermint flavor. Unlike some peppermint treats that overwhelm your palate, these cookies provide just enough minty freshness to feel seasonal without being aggressive. The subtle sweetness of the vanilla dough complements the peppermint beautifully, creating a harmonious flavor profile.
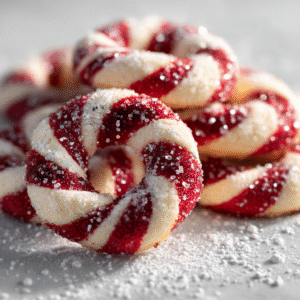
Another wonderful aspect of these candy cane cookies is their versatility. You can shape them into traditional candy cane hooks, twist them into spirals, or even form them into wreaths or circles. This flexibility makes them fun to prepare with children while still producing elegant results suitable for adult gatherings.
Ingredients for Perfect Candy Cane Cookies
For the Cookie Dough
- 1 cup (2 sticks) unsalted butter, softened
- 1 cup powdered sugar
- 1 large egg
- 1½ teaspoons peppermint extract
- 1 teaspoon vanilla extract
- 2½ cups all-purpose flour
- ½ teaspoon salt
- Red gel food coloring
- Coarse sanding sugar (red and white) for decoration
The quality of your peppermint extract makes a significant difference in these candy cane cookies. I always use pure peppermint extract rather than artificial flavoring—the taste is noticeably cleaner and more authentic. If you enjoy a stronger peppermint flavor, you can increase the extract to 2 teaspoons, though I find 1½ teaspoons provides the ideal balance.
Gel food coloring is essential for achieving vibrant red swirls without adding excess liquid to your dough. Liquid food coloring will make your dough too wet and difficult to handle. I’ve tried both, and gel coloring produces far superior results for these cookies.
Step-by-Step Guide to Making Candy Cane Cookies
Preparing Your Candy Cane Cookie Dough
Begin by creaming together the softened butter and powdered sugar in a large bowl using an electric mixer. Beat on medium-high speed for about 3 minutes until the mixture becomes light and fluffy. This step incorporates air into the dough, resulting in tender cookies rather than dense ones.
Add the egg, peppermint extract, and vanilla extract, beating until fully combined. Scrape down the sides of the bowl to ensure everything is evenly incorporated—this attention to detail makes a difference in the final product.
In a separate bowl, whisk together the flour and salt. Gradually add this dry mixture to the butter mixture, beating on low speed just until the dough comes together. Overmixing at this stage can develop the gluten too much, resulting in tougher cookies.
Creating the Signature Candy Cane Cookie Stripes
Divide your dough in half. Leave one half plain (this will be your white dough) and add red gel food coloring to the other half. I typically start with a small amount of gel coloring and gradually add more until I achieve a vibrant red. The color should be bold since it will fade slightly during baking.
Knead the colored dough until the red is evenly distributed throughout with no streaks remaining. This process takes a few minutes of patient kneading, but thorough color distribution ensures beautiful, even stripes in your finished candy cane cookies.
Wrap both portions of dough separately in plastic wrap and refrigerate for at least 30 minutes. Chilled dough is much easier to handle and shape—warm dough will stick to your hands and lose its definition. I often prepare the dough the night before I plan to bake, which makes the shaping process even smoother.
Shaping Your Candy Cane Cookies
Preheat your oven to 350°F (175°C) and line baking sheets with parchment paper. Remove your dough from the refrigerator and let it sit at room temperature for about 5 minutes to make it easier to work with.
For each candy cane cookie, take about 1 tablespoon of red dough and roll it into a rope approximately 4-5 inches long. Repeat with the white dough. Place the two ropes side by side and gently twist them together, creating that iconic spiral pattern. Be gentle—aggressive twisting can muddle the colors rather than creating distinct stripes.
Once twisted, roll the combined rope gently on your work surface to help the colors adhere to each other. Curve one end downward to form the candy cane hook shape. Place the shaped cookies on your prepared baking sheets, leaving about 2 inches between each one.
Decorating Your Candy Cane Cookies
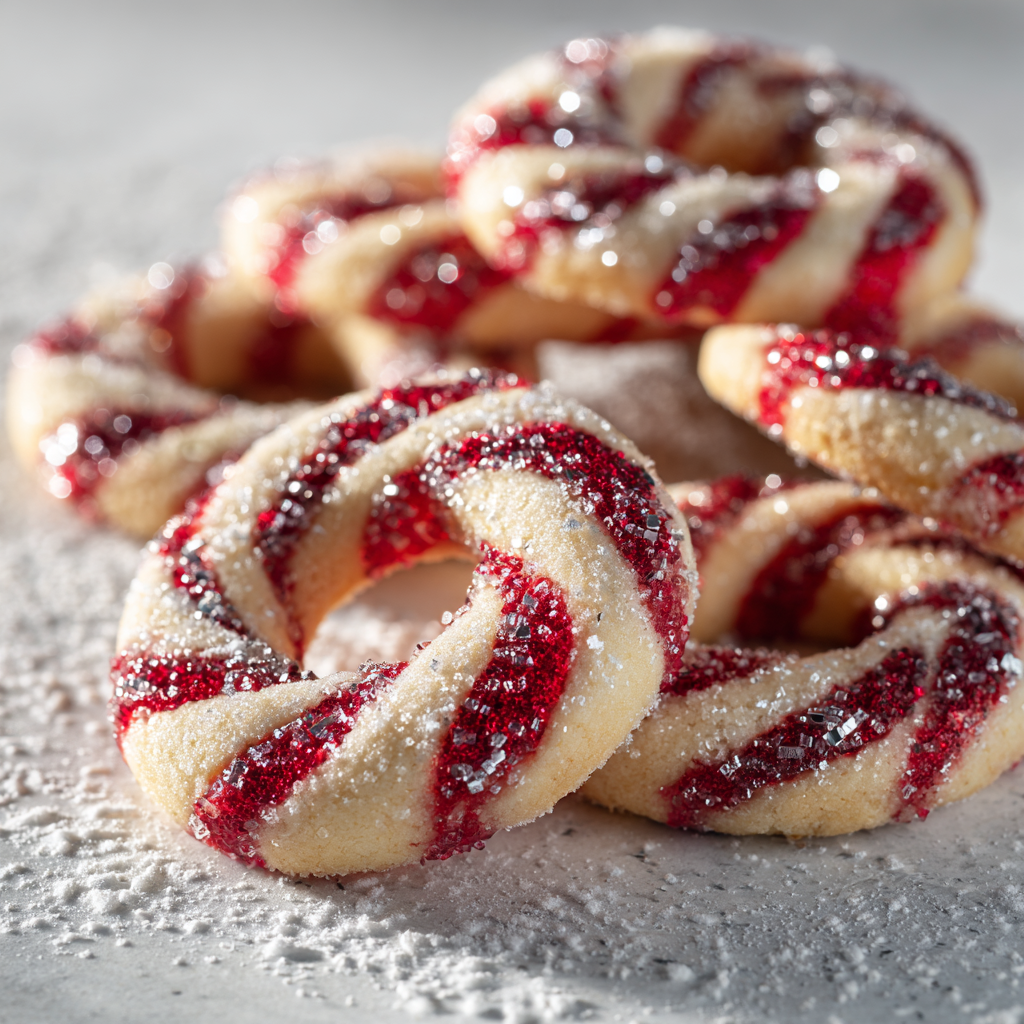
Before baking, sprinkle the red sanding sugar over the red portions of your cookies and white sanding sugar over the white sections. This decorative touch adds sparkle and extra crunch to your candy cane cookies, elevating them from simple to spectacular.
The sanding sugar serves two purposes: it creates visual appeal and adds a delightful textural contrast to the tender cookie beneath. When light catches those sugar crystals, your cookies practically sparkle with holiday magic.
Baking Perfect Candy Cane Cookies
Bake for 9-11 minutes, just until the edges are barely set. The cookies should still look slightly underdone in the center when you remove them from the oven—they’ll continue cooking on the hot baking sheet. One of the biggest mistakes I see with these candy cane cookies is overbaking, which results in hard, crunchy cookies rather than the tender texture we’re after.
Let the cookies cool on the baking sheet for 5 minutes before transferring them to a wire rack. During this time, they’ll firm up just enough to move without breaking but will remain delightfully tender.
Nutritional Information for Candy Cane Cookies
Per cookie (based on 24 cookies):
- Calories: 125
- Total Fat: 7g
- Saturated Fat: 4.5g
- Cholesterol: 25mg
- Sodium: 55mg
- Total Carbohydrates: 15g
- Dietary Fiber: 0g
- Sugars: 7g
- Protein: 1g
These candy cane cookies are certainly a treat to be enjoyed in moderation, but their modest size means you can savor one without guilt. The peppermint flavor also makes them feel lighter and more refreshing than many other holiday cookies.
Creative Variations for Your Candy Cane Cookies
Chocolate-Dipped Candy Cane Cookies
One of my favorite variations involves dipping the cooled cookies in melted chocolate. Melt 8 ounces of dark or white chocolate and dip the straight end of each candy cane cookie into it. Place on parchment paper and sprinkle with crushed candy canes before the chocolate sets. This addition creates a more decadent treat that chocolate lovers particularly appreciate.
Mini Candy Cane Cookies
For cookie platters or dessert tables with multiple options, make miniature versions by using only 1-2 teaspoons of dough per color. These bite-sized candy cane cookies are perfect for sampling and allow guests to try more varieties without overindulging.
Candy Cane Cookie Sandwiches
Create sandwich cookies by spreading peppermint buttercream or white chocolate ganache between two candy cane cookies. These make impressive gifts when packaged in clear cellophane bags tied with festive ribbon.
Alternative Flavor Combinations
While peppermint is traditional, you can experiment with other extracts. Almond extract creates cookies reminiscent of Italian Christmas treats, while wintergreen extract provides a slightly different minty experience. For non-mint lovers, try vanilla extract in both portions of dough with different food coloring for equally festive but non-minty cookies.
Serving and Presentation Ideas for Candy Cane Cookies
These candy cane cookies shine on any holiday dessert spread. Arrange them in a circular pattern on a large platter, with all the hooks facing outward—this creates a wreath-like presentation that’s both festive and eye-catching.
For gift-giving, place 4-6 candy cane cookies in a clear cellophane bag, tie with red and white striped ribbon, and attach a handwritten tag. These packages make thoughtful teacher gifts, neighbor surprises, or hostess presents that show you took time to create something special.
At holiday parties, display these cookies standing upright in a small glass filled with white sugar or decorative snow. The vertical presentation shows off their distinctive shape and adds height variation to your dessert table.
Perfect Pairings with Candy Cane Cookies
Hot chocolate is the quintessential beverage pairing for candy cane cookies. The rich, creamy chocolate complements the peppermint flavor perfectly, creating a classic combination that evokes cozy winter evenings.
Peppermint tea or chamomile tea also pair beautifully, especially for afternoon cookie breaks. The herbal notes don’t compete with the cookies’ flavor, allowing the peppermint to shine.
For adult gatherings, consider serving these candy cane cookies alongside peppermint schnapps-spiked coffee or white chocolate peppermint martinis. The cookies make an excellent accompaniment to after-dinner drinks.
Storage and Make-Ahead Tips for Candy Cane Cookies
Proper storage keeps these candy cane cookies fresh and beautiful. Store them in an airtight container with parchment paper between layers to prevent them from sticking together. At room temperature, they’ll stay fresh for up to one week.
These cookies also freeze exceptionally well. Place unfrosted, cooled cookies in a single layer on a baking sheet and freeze until solid. Transfer to a freezer-safe container or bag with parchment between layers. Frozen candy cane cookies maintain their quality for up to 3 months. Thaw at room temperature before serving.
You can also freeze the shaped, unbaked cookies. Place them on a parchment-lined baking sheet and freeze until solid, then transfer to a freezer bag. When ready to bake, place frozen cookies on baking sheets, add sanding sugar, and bake directly from frozen, adding 1-2 minutes to the baking time.
The dough itself keeps well in the refrigerator for up to 3 days before shaping, making it easy to prepare ahead during the busy holiday season.
Troubleshooting Common Candy Cane Cookie Issues
If your dough is too soft to shape, refrigerate it longer. Soft dough creates poorly defined spirals and loses its shape during baking. Conversely, if your dough is too hard to roll, let it sit at room temperature for 5-10 minutes.
When colors bleed together during twisting, you’re likely handling the dough too much or your dough is too warm. Work quickly with chilled dough, and avoid overworking the twisted ropes.
If your candy cane cookies spread too much during baking, ensure your butter was properly softened (not melted) when making the dough, and refrigerate shaped cookies for 10 minutes before baking.
Cracking during shaping usually indicates dough that’s too cold. Let it warm slightly at room temperature—the dough should be pliable enough to shape without cracking but firm enough to hold its form.
Tips from My Years of Making Candy Cane Cookies
After countless batches of these festive treats, I’ve learned several tricks that ensure success. First, resist the urge to make the ropes too long—shorter, thicker candy canes hold their shape better and provide a better ratio of crisp edges to tender centers.
Work in batches, keeping dough you’re not currently using in the refrigerator. This prevents the dough from becoming too soft to handle, especially if your kitchen is warm from baking.
Don’t stress about perfection—slight variations in the spirals add to the homemade charm of these candy cane cookies. The most important thing is that the red and white colors remain distinct, creating that recognizable candy cane appearance.
Finally, involve family members in the shaping process. Children especially love rolling the dough ropes and forming the candy cane hooks. While their cookies might not look professional, the memories created together are far more valuable than perfect spirals.
These candy cane cookies have become synonymous with Christmas in my home. The process of making them—from mixing the dough to that final sprinkle of sanding sugar—marks the official beginning of our holiday season. Each twisted rope and curved hook represents not just a cookie, but a small celebration of tradition, creativity, and the joy of sharing homemade treats with those we love.