Let me take you back to a sad, smoky Tuesday in 2012. I was 25, fiercely independent, and convinced my then-boyfriend (now husband, bless his patient heart) would be so impressed if I cooked him a classic, comforting meatloaf. I’d seen it in movies! It was the culinary equivalent of a warm hug. I followed a recipe from a glossy magazine, added some “sophisticated” red wine, and set it in the oven.
What emerged was a charcoal briquette wearing a sad, glossy sauce. The inside was raw. The smoke alarm sang opera for 20 minutes. We ended up ordering pizza, and I cried into my pepperoni slice. That was my kitchen rock bottom. I was a capable, smart woman who could negotiate contracts but couldn’t cook a hunk of ground beef without starting a minor fire. The shame was real.
The next week, my brilliant, unflappable mother sent me a care package. In it were her battered, sauce-stained copies of “The Joy of Cooking” and “The Fannie Farmer Cookbook.” Tucked inside was a handwritten note: “Forget the fancy stuff. Master the classics. Start with a Cobb. It’s a salad, but it’s the meal. And it forgives.”
That Focus keyword felt like an insult. A salad? After the Great Meatloaf Inferno? But I was desperate. So I opened that ancient Fannie Farmer, found the recipe for a Cobb salad recipe, and decided to try it. I thought I was just making lunch. I had no idea I was rebuilding my confidence, one chopped ingredient at a time.
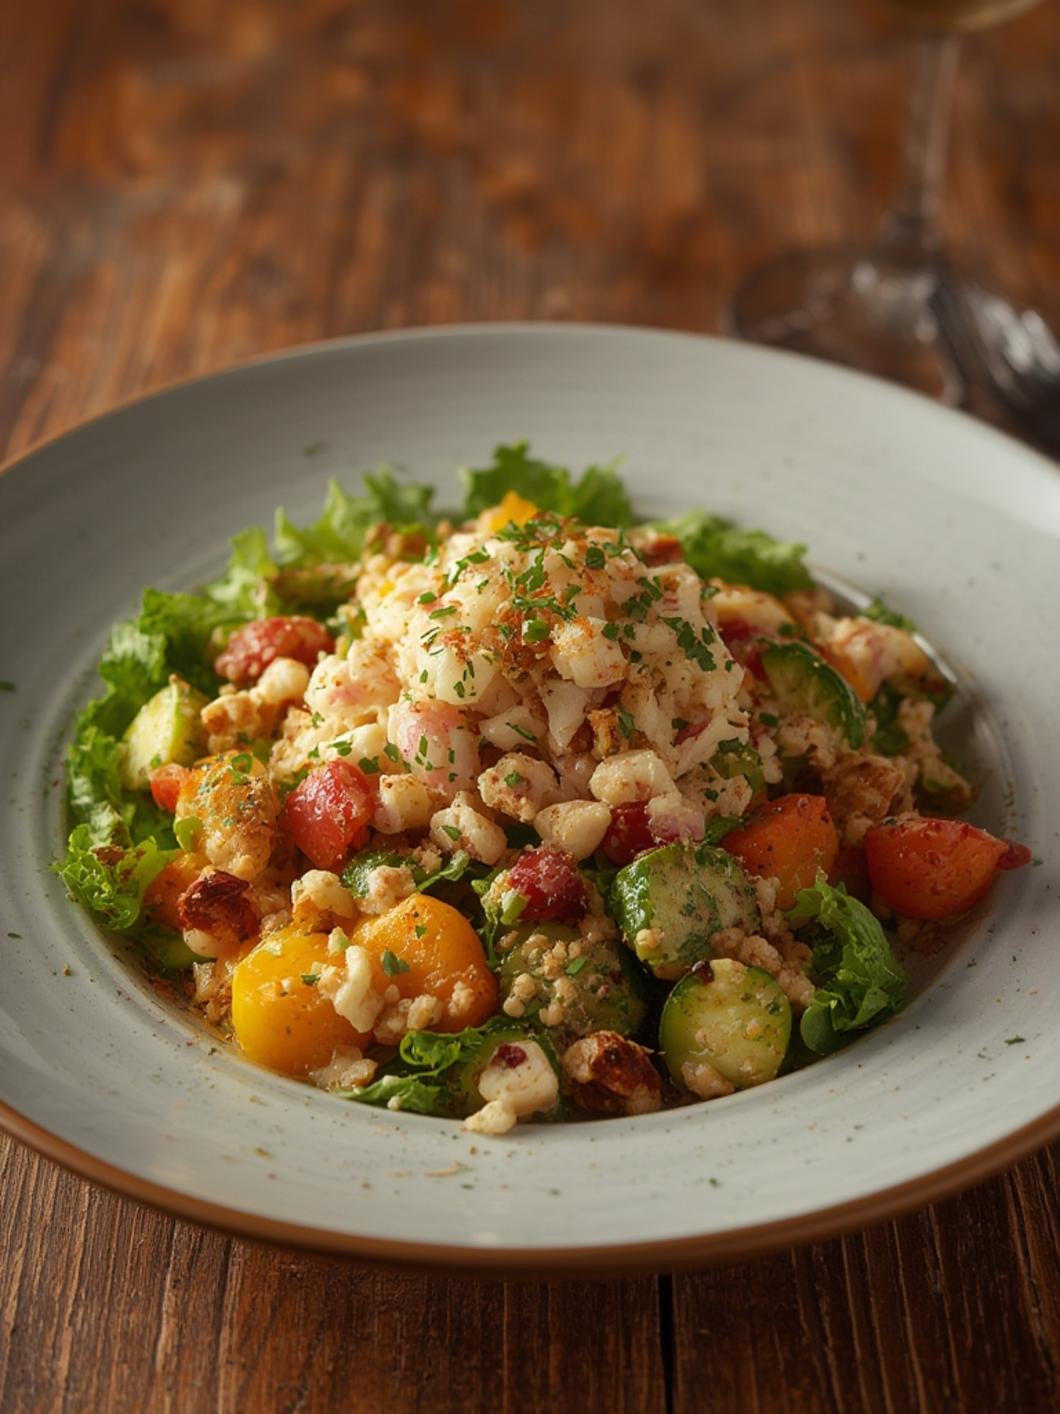
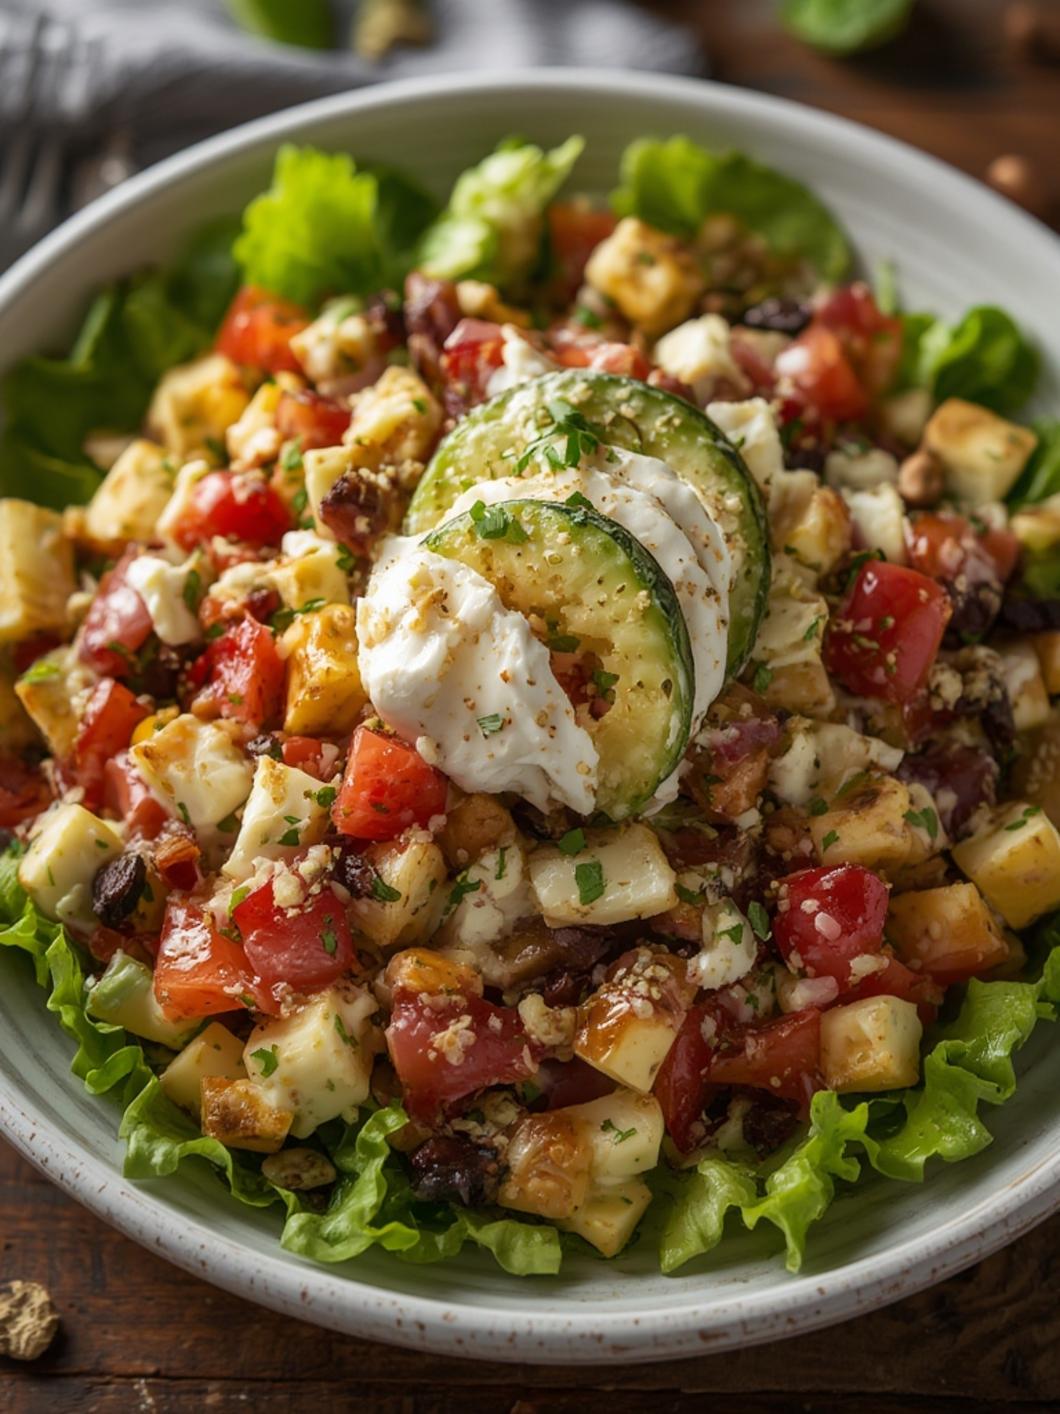
That first Cobb was… messy. The avocado browned instantly. I overdressed the lettuce. But when I piled that beautiful chaos—crisp greens, perfect eggs, savory bacon—onto a plate, something magical happened. It tasted like care. It tasted like a restaurant meal, but mine. And most importantly, it worked. Every. Single. Time. That’s the power of a classic. It’s forgiving, it’s balanced, and it makes you feel like a culinary genius even when you’re just following steps. This Cobb salad recipe didn’t just fill my stomach; it filled my soul with the belief that I could actually do this cooking thing. It was my gateway drug to a kitchen I now call my happy place.
Materials & Supplies (The Honest Pantry Check)
Alright, let’s get real about what you need. Don’t worry, it’s not fancy. This is a “clean out the fridge and make it gorgeous” kind of deal, but for the best results, grab these:
For the Salad Base & Toppings:
- Lettuce: A mix is key! I use one head of crisp, cold romaine (for structure) and a small container of baby spinach or arugula (for peppery bite). Avoid sad, pre-shredded bag lettuce. It’s wimpy.
- Chicken: 1 large boneless, skinless chicken breast (about 6-8 oz). You can absolutely use a rotisserie chicken from the store—no shame in that game! Just shred or chop it.
- Eggs: 2 large eggs, at room temperature (this makes peeling easier, trust me).
- Bacon: 3-4 slices of good-quality, thick-cut bacon. This is your flavor MVP. Turkey bacon works, but it’s not the same.
- Tomato: 1 large, ripe beefsteak or heirloom tomato. If it’s mealy and flavorless in winter, skip it or use a cup of sweet cherry tomatoes.
- Avocado: 1 ripe but firm Hass avocado. The “squeeze test” is key—it should give slightly.
- Red Onion: 1/4 of a small red onion, finely diced. Soak it in a bowl of cold water for 10 minutes if it’s too sharp for you.
Blue Cheese: 1/4 cup of crumbled Roquefort or Gorgonzola. THIS IS NON-NEGOTIABLE for a true* Cobb. If you hate it, use a sharp cheddar or feta, but it won’t be traditional. Don’t skip the cheese!
- Chives or Green Onion: 2 tablespoons, finely chopped for a fresh finish.
For the Dressing (The Secret Weapon):
- Olive Oil: 1/4 cup extra virgin. Good stuff.
- Red Wine Vinegar: 2 tablespoons. You can use white wine or sherry vinegar in a pinch.
- Dijon Mustard: 1 teaspoon. It’s the emulsifier, the magic glue.
- Fresh Garlic: 1 small clove, finely minced or grated.
- Salt & Freshly Cracked Black Pepper: The heroes of any dish. Use kosher salt and coarse pepper.
- Sugar or Honey: 1/2 teaspoon (to balance the acidity). Optional, but recommended.
Tools & Equipment:
- A large, wide, flat platter or a big rimmed baking sheet. This is crucial for the signature layered presentation.
- Two medium bowls for the dressing and for holding prepped ingredients.
- A small pot for eggs and bacon.
- A non-stick skillet for the chicken.
- Sharp knives and a cutting board. Dull knives are dangerous and make you cry (literally, from frustration).
- Tongs are your best friend for tossing the greens.
Timing / Cooking Schedule (The Reality Check)
Let’s be honest: the first time you make this, you will be a chopping, boiling, searing maniac. I’ve timed it for a second-time-through, where you can have a glass of wine while you work.
- Prep Time: 25 minutes (chopping, cooking eggs/bacon/chicken, making dressing).
- Active Cooking Time: 15 minutes (mostly hands-off boiling/pan-searing).
- Total Time: 40 minutes, start to finish.
My Real Talk: The first time, it took me a solid 70 minutes. I was running to the fridge, forgetting ingredients, burning the bacon slightly (again, the meatloaf trauma!). Don’t beat yourself up. Set everything out like a mise en place station before you turn on any heat. It’s a game-changer.
Step-by-Step Instructions (The Sacred Choreography)
This is where the magic happens. The Cobb has a specific, beautiful, logical order. Follow it, and you’ll feel like a pro.
Step 1: The Foundation – Cook Your Proteins.
Bring a small pot of water to a boil. Gently lower in the eggs with a slotted spoon. Boil for exactly 9 minutes for a perfect jammy-yolk egg. Immediately plunge them into an ice bath. While they cool, cook the bacon on medium-low until crisp. Drain on paper towels. For the chicken, season generously with salt and pepper. Heat 1 tbsp oil in the skillet over medium-high. Cook 4-5 minutes per side until golden and cooked through (165°F internal temp). Let rest 5 minutes, then chop.
- My Tip: I made the mistake of skipping the ice bath for the eggs once. I got a rubbery, sulfurous nightmare of an egg that ruined half my salad. Trust the process! The ice bath stops the cooking and makes peeling a dream.
Step 2: The Canvas – Prep & Dress the Greens.
Wash and thoroughly dry your lettuce and spinach. This is non-negotiable. Wet lettuce is sad, soggy lettuce. Use a salad spinner or lay it out on towels. In one of your bowls, whisk together the olive oil, red wine vinegar, Dijon, minced garlic, salt, pepper, and honey (if using) until it’s glossy and emulsified. Toss about 3/4 of the dressing with all your dry, crisp greens in a large bowl until lightly coated. You want them glossy, not swimming.
- My Tip: Use your clean hands to toss! It’s the best way to make sure every leaf gets a light kiss of dressing.
Step 3: The Art of Assembly – Rows Are Everything.
On your large, beautiful platter, spread the dressed greens in an even layer. This is your green carpet.
Now, in neat, parallel rows (or a fun zig-zag), arrange your chopped ingredients in this order: diced chicken, crumbled bacon, hard-boiled egg quarters, large dice of tomato, diced avocado, and finally, the crumbled blue cheese. Finish with a sprinkle of your fresh chives or green onion. Drizzle the remaining dressing over the top in a thin, artistic line or two.
- My Tip: The order matters! The avocado goes near the end so it doesn’t brown under the other ingredients. And the blue cheese on top lets everyone see what they’re getting. Presentation is 50% of the flavor, I swear.
Step 4: The Grand Finale – Serve Immediately.
Grab a big serving spoon and tongs. Bring the platter straight to the table. Let everyone dig in and mix their own perfect bite. This salad is meant to be shared, component by component.
Personal Story: The first time I served this to my now-husband, he took one look and said, “Is this… a deconstructed salad?” I beamed. “It’s a Cobb*!” He took a bite, his eyes went wide, and he just said, “Okay. You can cook now.” Best. Compliment. Ever.
Nutritional Benefits / Advantages (The Healthy-ish Confession)
Okay, before you look at this and see “bacon” and “blue cheese,” hear me out. My primary care doctor, a no-nonsense woman who once told me to “eat the broccoli, not the bread,” asked for my Focus keyword recipe after I told her I ate this for lunch three days a week. She was shocked.
Here’s the breakdown: You’ve got high-quality protein from the chicken and eggs to keep you full and build muscle. The healthy fats from the olive oil dressing and avocado support brain health and curb cravings. The tons of vegetables (greens, tomato, onion) deliver fiber, vitamins, and antioxidants. The modest amount of blue cheese provides calcium and probiotics. Yes, the bacon is indulgence, but by controlling the portion (you’re not eating a whole package) and using a good-quality, uncured kind, you keep it in check. It’s a complete, balanced meal in a bowl that keeps your energy stable. No 3 pm sugar crash here. I feel strong, satisfied, and like I’ve treated myself and nourished my body.
Tips, Alternative Methods, or Cooking Advice (My Kitchen Graffiti)
- Meal Prep Pro: Cook all your proteins (chicken, bacon, eggs) on Sunday. Store separately. Chop your veggies (except the avocado) and store in airtight containers with a damp paper towel on top. Keep dressing separate. Assemble fresh in 5 minutes on a busy weeknight.
- No Cook Option: Shred a rotisserie chicken. Use leftover hard-boiled eggs from your meal prep. The only cooking is the bacon (or use pre-cooked, crumbled).
- Dressing Swap: Sometimes I swap half the olive oil for avocado oil for a lighter taste. Or add a teaspoon of Worcestershire sauce to the dressing for a deeper umami punch.
- Cheese Hater? Use a sharp, aged white cheddar or even a salty feta. The Cobb salad recipe tradition calls for blue, but your happiness is more important.
- Herb Heaven: Always, always top with fresh chives or a tiny bit of dill. It lifts everything.
Common Mistakes to Avoid (The Stories Behind the Scars)
Mistake #1: Soggy Salad City. WET lettuce. I can’t say it enough. Wash it, then spin it dry until the bowl is clear. A wet salad is a doomed salad.
Mistake #2: The Brown Avocado. Once, I chopped the avocado and plopped it on the platter 20 minutes before serving. It turned gray and sad. Fix: Chop it last, squeeze a tiny bit of lemon juice over it, and only add it right before bringing it to the table. The acid slows oxidation.
Mistake #3: Over-Dressing the Greens. You want them glossy, not swimming. Toss the greens with about 75% of the dressing, then drizzle the rest on top. The excess pools beautifully on the platter and mixes as people serve themselves.
Storage / Maintenance Tips (The Leftover Logic)
This is best eaten immediately. But life happens! Here’s the damage control:
1. Store components separately in airtight containers in the fridge. Greens with a paper towel on top, proteins together, avocado in its skin with lemon juice.
2. Dressing stays great in a jar for a week.
3. To revive: Leftover assembled salad will get soggy. Instead, take your stored greens, give them a quick toss, then pile on your cold proteins and avocado. Freshly drizzle with dressing. It’s almost as good.
4. Eggs & Bacon keep for 4 days. Chicken for 3. Use them up!
Conclusion (My Promise to You)
That burnt meatloaf is now a legendary story in our house. My husband will occasionally, when I’m being extra fancy, call a dish “meatloaf-adjacent.” We laugh. Because I found my footing in a Cobb salad recipe. It taught me about Focus keyword—the importance of proper tools, respecting ingredients, and the beautiful rhythm of a classic recipe. It gave me a no-fail, impressive, healthy meal that I can make with my eyes half-closed after a long day.
So please, I beg of you, grab a beat-up cookbook or just follow these steps. Make a mess. Chop things unevenly. Discover what works for you. This recipe is a canvas. And I promise you, when you plate that gorgeous, towering, colorful salad and hear the crunch of the first forkful, you will feel that same spark of, “Hey, I did this.” You’ll feel like a cook.
Now go make it. And tell me about it. Did you add grilled corn? Skip the blue cheese? Use cilantro instead of chives? I’m in your corner. Your kitchen is your happy place, too—I just helped you find the door.
FAQs (Your Friendly Neighborhood Advice)
Q: Can I use low-fat dressing?
A: You can, but I’d probably just use less of the full-fat, delicious dressing I made you. The healthy fats in the olive oil and avocado are what keep you full. Low-fat dressing is often loaded with sugar and won’t satisfy. Use the real stuff, just measure it.
Q: I hate blue cheese! Is it still a Cobb?
A: Technically, a classic Cobb has Roquefort. But food is about joy! Use a sharp cheddar, crumbled feta, or even leave it out and add a handful of toasted walnuts or pepitas for crunch. Your salad, your rules.
Q: How do I keep the bacon crispy if I’m meal prepping?
A: Cook it until very crisp, drain on a rack (not paper towels, which steam it), and store it in an airtight container on top of everything else. It will stay crispier. Re-crisp it for 30 seconds in a hot pan or air fryer before serving.
Q: Can I make this vegan?
A: You can build a beautiful vegan “ Cobb”! Use chickpeas or smoky tempeh “bacon” for protein, hard-boiled tofu “eggs” (soy sauce + turmeric for color), and skip the cheese. Use a tahini-based dressing. It will be delicious, but it won’t be a Cobb. Call it a Rainbow Power Salad and own it!
Q: What’s the absolute #1 tool I need besides a knife?
A: A salad spinner. I’m not kidding. Wet greens are the #1 cause of sad salads. Dry greens = dressing clings = flavor explosion. Get a $20 one. Use it for herbs, berries, everything. Your salad life will change.

Best way to grow Classic Cobb salad in 10 minutes
Description
That first Cobb was… messy. The avocado browned instantly. I overdressed the lettuce. But when I piled that beautiful chaos—crisp greens, perfect eggs, savory bacon—onto a plate, something magical happened. It tasted like care. It tasted like a restaurant meal, but mine. And most importantly, it worked. Every. Single. Time. That’s the power of a classic. It’s forgiving, it’s balanced, and it makes you feel like a culinary genius even when you’re just following steps. This Cobb salad recipe didn’t just fill my stomach; it filled my soul with the belief that I could actually do this cooking thing. It was my gateway drug to a kitchen I now call my happy place.
Ingredients
Materials & Supplies (The Honest Pantry Check)
Alright, let’s get real about what you need. Don’t worry, it’s not fancy. This is a “clean out the fridge and make it gorgeous” kind of deal, but for the best results, grab these:
For the Salad Base & Toppings:
- Lettuce: A mix is key! I use one head of crisp, cold romaine (for structure) and a small container of baby spinach or arugula (for peppery bite). Avoid sad, pre-shredded bag lettuce. It’s wimpy.
- Chicken: 1 large boneless, skinless chicken breast (about 6-8 oz). You can absolutely use a rotisserie chicken from the store—no shame in that game! Just shred or chop it.
- Eggs: 2 large eggs, at room temperature (this makes peeling easier, trust me).
- Bacon: 3-4 slices of good-quality, thick-cut bacon. This is your flavor MVP. Turkey bacon works, but it’s not the same.
- Tomato: 1 large, ripe beefsteak or heirloom tomato. If it’s mealy and flavorless in winter, skip it or use a cup of sweet cherry tomatoes.
- Avocado: 1 ripe but firm Hass avocado. The “squeeze test” is key—it should give slightly.
- Red Onion: 1/4 of a small red onion, finely diced. Soak it in a bowl of cold water for 10 minutes if it’s too sharp for you.
Blue Cheese: 1/4 cup of crumbled Roquefort or Gorgonzola. THIS IS NON-NEGOTIABLE for a true* Cobb. If you hate it, use a sharp cheddar or feta, but it won’t be traditional. Don’t skip the cheese!
- Chives or Green Onion: 2 tablespoons, finely chopped for a fresh finish.
For the Dressing (The Secret Weapon):
- Olive Oil: 1/4 cup extra virgin. Good stuff.
- Red Wine Vinegar: 2 tablespoons. You can use white wine or sherry vinegar in a pinch.
- Dijon Mustard: 1 teaspoon. It’s the emulsifier, the magic glue.
- Fresh Garlic: 1 small clove, finely minced or grated.
- Salt & Freshly Cracked Black Pepper: The heroes of any dish. Use kosher salt and coarse pepper.
- Sugar or Honey: 1/2 teaspoon (to balance the acidity). Optional, but recommended.
Tools & Equipment:
- A large, wide, flat platter or a big rimmed baking sheet. This is crucial for the signature layered presentation.
- Two medium bowls for the dressing and for holding prepped ingredients.
- A small pot for eggs and bacon.
- A non-stick skillet for the chicken.
- Sharp knives and a cutting board. Dull knives are dangerous and make you cry (literally, from frustration).
- Tongs are your best friend for tossing the greens.
Timing / Cooking Schedule (The Reality Check)
Let’s be honest: the first time you make this, you will be a chopping, boiling, searing maniac. I’ve timed it for a second-time-through, where you can have a glass of wine while you work.
- Prep Time: 25 minutes (chopping, cooking eggs/bacon/chicken, making dressing).
- Active Cooking Time: 15 minutes (mostly hands-off boiling/pan-searing).
- Total Time: 40 minutes, start to finish.
My Real Talk: The first time, it took me a solid 70 minutes. I was running to the fridge, forgetting ingredients, burning the bacon slightly (again, the meatloaf trauma!). Don’t beat yourself up. Set everything out like a mise en place station before you turn on any heat. It’s a game-changer.
Instructions
Step-by-Step Instructions (The Sacred Choreography)
This is where the magic happens. The Cobb has a specific, beautiful, logical order. Follow it, and you’ll feel like a pro.
Step 1: The Foundation – Cook Your Proteins.
Bring a small pot of water to a boil. Gently lower in the eggs with a slotted spoon. Boil for exactly 9 minutes for a perfect jammy-yolk egg. Immediately plunge them into an ice bath. While they cool, cook the bacon on medium-low until crisp. Drain on paper towels. For the chicken, season generously with salt and pepper. Heat 1 tbsp oil in the skillet over medium-high. Cook 4-5 minutes per side until golden and cooked through (165°F internal temp). Let rest 5 minutes, then chop.
My Tip: I made the mistake of skipping the ice bath for the eggs once. I got a rubbery, sulfurous nightmare of an egg that ruined half my salad. Trust the process! The ice bath stops the cooking and makes peeling a dream.
Step 2: The Canvas – Prep & Dress the Greens.
Wash and thoroughly dry your lettuce and spinach. This is non-negotiable. Wet lettuce is sad, soggy lettuce. Use a salad spinner or lay it out on towels. In one of your bowls, whisk together the olive oil, red wine vinegar, Dijon, minced garlic, salt, pepper, and honey (if using) until it’s glossy and emulsified. Toss about 3/4 of the dressing with all your dry, crisp greens in a large bowl until lightly coated. You want them glossy, not swimming.
My Tip: Use your clean hands to toss! It’s the best way to make sure every leaf gets a light kiss of dressing.
Step 3: The Art of Assembly – Rows Are Everything.
On your large, beautiful platter, spread the dressed greens in an even layer. This is your green carpet.
Now, in neat, parallel rows (or a fun zig-zag), arrange your chopped ingredients in this order: diced chicken, crumbled bacon, hard-boiled egg quarters, large dice of tomato, diced avocado, and finally, the crumbled blue cheese. Finish with a sprinkle of your fresh chives or green onion. Drizzle the remaining dressing over the top in a thin, artistic line or two.
My Tip: The order matters! The avocado goes near the end so it doesn’t brown under the other ingredients. And the blue cheese on top lets everyone see what they’re getting. Presentation is 50% of the flavor, I swear.
Step 4: The Grand Finale – Serve Immediately.
Grab a big serving spoon and tongs. Bring the platter straight to the table. Let everyone dig in and mix their own perfect bite. This salad is meant to be shared, component by component.
Personal Story: The first time I served this to my now-husband, he took one look and said, “Is this… a deconstructed salad?” I beamed. “It’s a Cobb*!” He took a bite, his eyes went wide, and he just said, “Okay. You can cook now.” Best. Compliment. Ever.
Nutritional Benefits / Advantages (The Healthy-ish Confession)
Okay, before you look at this and see “bacon” and “blue cheese,” hear me out. My primary care doctor, a no-nonsense woman who once told me to “eat the broccoli, not the bread,” asked for my Focus keyword recipe after I told her I ate this for lunch three days a week. She was shocked.
Here’s the breakdown: You’ve got high-quality protein from the chicken and eggs to keep you full and build muscle. The healthy fats from the olive oil dressing and avocado support brain health and curb cravings. The tons of vegetables (greens, tomato, onion) deliver fiber, vitamins, and antioxidants. The modest amount of blue cheese provides calcium and probiotics. Yes, the bacon is indulgence, but by controlling the portion (you’re not eating a whole package) and using a good-quality, uncured kind, you keep it in check. It’s a complete, balanced meal in a bowl that keeps your energy stable. No 3 pm sugar crash here. I feel strong, satisfied, and like I’ve treated myself and nourished my body.
Tips, Alternative Methods, or Cooking Advice (My Kitchen Graffiti)
Meal Prep Pro: Cook all your proteins (chicken, bacon, eggs) on Sunday. Store separately. Chop your veggies (except the avocado) and store in airtight containers with a damp paper towel on top. Keep dressing separate. Assemble fresh in 5 minutes on a busy weeknight.
No Cook Option: Shred a rotisserie chicken. Use leftover hard-boiled eggs from your meal prep. The only cooking is the bacon (or use pre-cooked, crumbled).
Dressing Swap: Sometimes I swap half the olive oil for avocado oil for a lighter taste. Or add a teaspoon of Worcestershire sauce to the dressing for a deeper umami punch.
Cheese Hater? Use a sharp, aged white cheddar or even a salty feta. The Cobb salad recipe tradition calls for blue, but your happiness is more important.
Herb Heaven: Always, always top with fresh chives or a tiny bit of dill. It lifts everything.
Common Mistakes to Avoid (The Stories Behind the Scars)
Mistake #1: Soggy Salad City. WET lettuce. I can’t say it enough. Wash it, then spin it dry until the bowl is clear. A wet salad is a doomed salad.
Mistake #2: The Brown Avocado. Once, I chopped the avocado and plopped it on the platter 20 minutes before serving. It turned gray and sad. Fix: Chop it last, squeeze a tiny bit of lemon juice over it, and only add it right before bringing it to the table. The acid slows oxidation.
Mistake #3: Over-Dressing the Greens. You want them glossy, not swimming. Toss the greens with about 75% of the dressing, then drizzle the rest on top. The excess pools beautifully on the platter and mixes as people serve themselves.
Storage / Maintenance Tips (The Leftover Logic)
This is best eaten immediately. But life happens! Here’s the damage control:
1. Store components separately in airtight containers in the fridge. Greens with a paper towel on top, proteins together, avocado in its skin with lemon juice.
2. Dressing stays great in a jar for a week.
3. To revive: Leftover assembled salad will get soggy. Instead, take your stored greens, give them a quick toss, then pile on your cold proteins and avocado. Freshly drizzle with dressing. It’s almost as good.
4. Eggs & Bacon keep for 4 days. Chicken for 3. Use them up!