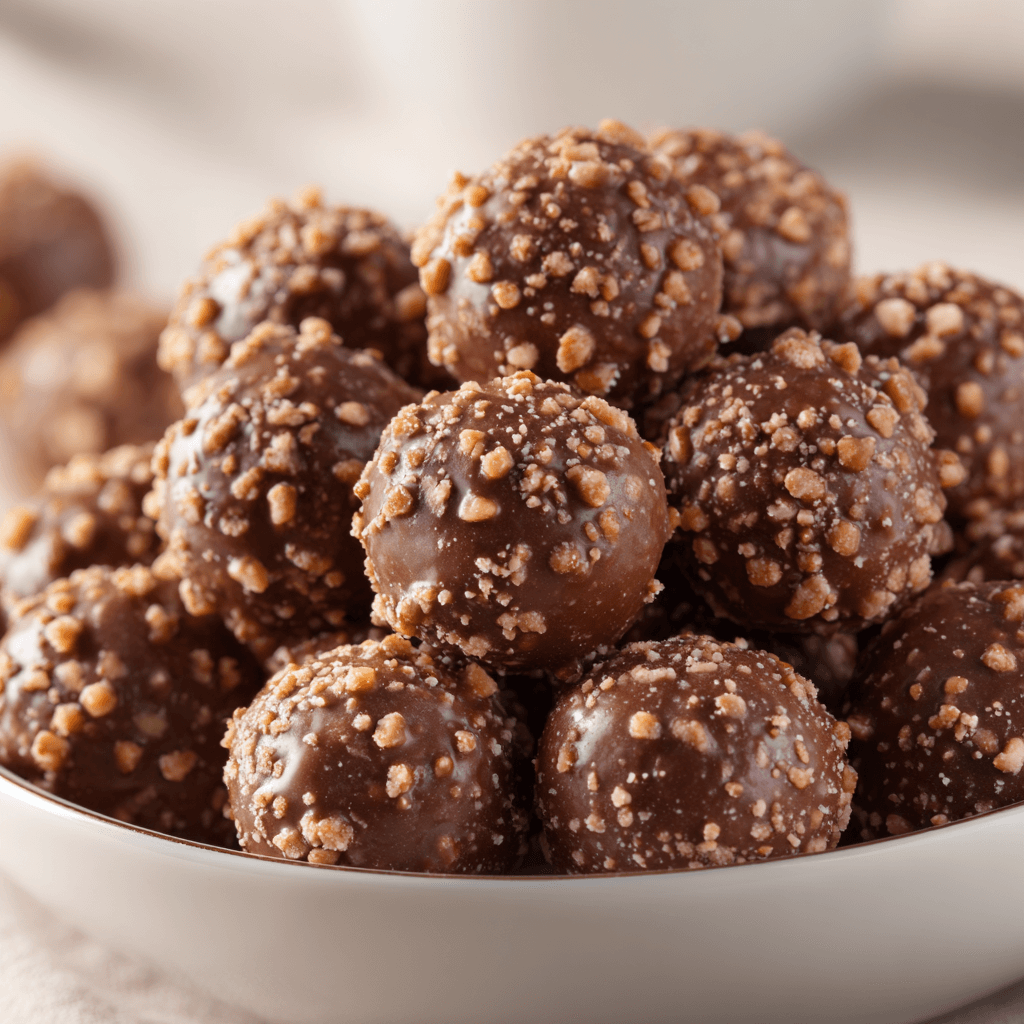
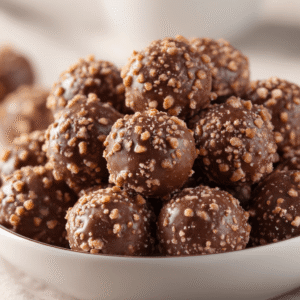
There’s something magical about the way a single bite can transport you back in time. For me, that bite is always my homemade Butterfinger Balls – those perfectly round, chocolate-covered spheres of peanut butter heaven that have been stealing hearts at every gathering I’ve brought them to for the past fifteen years.
How It All Began: A Happy Kitchen Accident
I’ll never forget the December evening in 2009 when I first stumbled upon this recipe. My neighbor Sarah had invited me to her annual cookie exchange, and I was frantically searching through my recipe box for something special.
The Discovery That Changed Everything
That’s when I found a crumpled piece of paper tucked between my grandmother’s apple pie recipe and my mother’s famous chocolate chip cookies. The handwriting was barely legible, but I could make out “peanut butter” and “chocolate coating.”
What started as an attempt to recreate what I thought was my great-aunt Millie’s candy recipe turned into something entirely different – and infinitely better. As I mixed the ingredients that night, tasting as I went (as any good cook should), I realized I was creating something new, something that would become my signature treat for decades to come.
The First Taste of Success
The first batch came out perfectly imperfect. Some were slightly lopsided, others had a bit too much chocolate coating dripping down the sides, but every single person at that cookie exchange asked for the recipe. Consequently, I knew I had stumbled onto something special.
What Makes These Butterfinger Balls Different
Over the years, I’ve tried countless variations of peanut butter balls, but none compare to this particular combination. What makes these special isn’t just the ingredients – though the quality of chocolate and peanut butter you choose absolutely matters – it’s the technique and the little secrets I’ve learned along the way.
The Secret to Perfect Texture
The key lies in achieving the perfect balance of textures. The interior needs to be creamy yet firm enough to hold its shape, while the chocolate coating should have that satisfying snap when you bite into it. Furthermore, I’ve discovered that the temperature at which you dip the balls, the type of chocolate you use, and even the humidity in your kitchen can make or break this recipe.
The Perfect Butterfinger Balls Recipe
Ingredients You’ll Need
For the Peanut Butter Centers:
- 1 cup creamy peanut butter (I swear by Jif, but any quality brand works)
- 6 tablespoons unsalted butter, softened to room temperature
- 1 teaspoon pure vanilla extract
- 1/4 teaspoon fine sea salt
- 2 1/2 cups powdered sugar, sifted
- 1 1/2 cups crushed Butterfinger candy bars (about 8-10 fun-size bars)
Chocolate Coating:
- 24 ounces high-quality chocolate chips (I prefer semi-sweet, but milk chocolate works beautifully too)
- 2 tablespoons coconut oil or vegetable shortening
- Extra crushed Butterfinger pieces for rolling (optional)
Equipment You’ll Need
- Large mixing bowl
- Electric mixer (hand or stand mixer)
- Cookie scoop or tablespoon for portioning
- Baking sheets lined with parchment paper
- Double boiler or microwave-safe bowl
- Fork or candy dipping tool
Step-by-Step Instructions: The Method Behind the Magic
Creating the Peanut Butter Centers
Start by ensuring all your ingredients are at room temperature – this makes all the difference in achieving that smooth, creamy texture. I learned this the hard way after producing several batches with lumpy centers early in my Butterfinger ball journey.
Mixing the Base
In your large mixing bowl, cream together the peanut butter and softened butter until light and fluffy. This usually takes about 3-4 minutes with an electric mixer. The mixture should look pale and increased in volume – that’s how you know you’re incorporating enough air to create that perfect texture.
Next, add the vanilla extract and salt, mixing until just combined. Now comes the crucial part: gradually add the sifted powdered sugar, one cup at a time.
Why Sifting Matters
I cannot stress enough how important it is to sift the powdered sugar. Those lumps might seem insignificant, but they’ll create an unpleasant grainy texture in your finished balls.
Once the mixture is smooth and holds together when pressed, fold in the crushed Butterfinger pieces. I like to crush mine by hand, leaving some larger chunks for texture and some finer pieces that distribute throughout the mixture.
Shaping and Chilling Process
Using a cookie scoop or tablespoon, portion the mixture into balls about 1 1/2 inches in diameter. I’ve found that slightly smaller balls work better – they’re easier to coat evenly and provide the perfect candy-to-chocolate ratio in each bite.
The Rolling Technique
Roll each portion between your palms to create smooth, round balls. Place them on parchment-lined baking sheets, ensuring they don’t touch each other. This is where patience becomes your friend – chill the balls in the refrigerator for at least 2 hours, or freeze them for 30 minutes. This step is non-negotiable if you want clean, professional-looking results.
The Chocolate Coating: Where Magic Happens
Melting chocolate properly is an art form that I’ve perfected over years of trial and error. You can use either a double boiler or microwave method, but I prefer the controlled heat of a double boiler for the smoothest results.
Double Boiler Method
If using a double boiler, combine the chocolate chips and coconut oil in the top portion. Heat the water in the bottom pan to a gentle simmer – never a rolling boil. Then, stir the chocolate occasionally until it’s completely smooth and melted.
Microwave Alternative
For the microwave method, combine chocolate and oil in a microwave-safe bowl. Heat in 30-second intervals, stirring between each interval, until smooth. This method requires more attention to prevent overheating.
The Dipping Technique
Remove the chilled balls from the refrigerator just before dipping – you want them cold but not frozen solid. Using a fork or candy dipping tool, lower each ball into the melted chocolate, ensuring it’s completely coated.
Subsequently, gently tap the fork against the side of the bowl to remove excess chocolate. Place the coated balls back on the parchment-lined baking sheet. If you’re adding extra Butterfinger pieces on top, sprinkle them on while the chocolate is still wet. This is purely optional, but it does add a beautiful finished appearance and lets people know exactly what flavor treat they’re about to enjoy.
Professional Tips I’ve Learned Over the Years
Temperature Control is Everything
Your chocolate should be warm enough to flow smoothly but not so hot that it melts the peanut butter centers. I aim for about 88-90°F for the perfect consistency.
The Two-Stage Dipping Method
For an extra-thick chocolate coating, allow the first layer to set completely, then dip again. This creates that satisfying thick shell that chocolate lovers crave.
Storage Solutions
These balls keep beautifully in the refrigerator for up to two weeks when stored in an airtight container with parchment paper between layers. They also freeze wonderfully for up to three months.
Humidity Matters
Avoid making these on particularly humid days, as the chocolate coating may not set properly and could develop a cloudy appearance called “bloom.”
Popular Variations That Have Become Family Favorites
Over the years, I’ve experimented with countless variations of this basic recipe. Here are a few that have become regular requests:
Crunchy Peanut Butter Version
Simply substitute crunchy peanut butter for smooth and reduce the Butterfinger pieces slightly to avoid overwhelming crunch.
Dark Chocolate Coating
Use high-quality dark chocolate for a more sophisticated flavor profile that pairs beautifully with the sweet peanut butter interior.
Mini Version
Make them half the size for elegant party presentations – perfect for wedding receptions or formal gatherings.
Understanding the Science Behind the Perfect Texture
Understanding why this recipe works helps you troubleshoot any issues. The combination of peanut butter and butter creates the creamy base, while the powdered sugar provides structure and sweetness.
The Role of Each Ingredient
Moreover, the Butterfinger pieces add both flavor and textural interest, while the chocolate coating provides contrast and helps preserve the interior. The chilling step isn’t just about making them easier to handle – it’s about setting the proteins and fats in the peanut butter mixture, creating a firm yet creamy texture that won’t fall apart when dipped in warm chocolate.
Making It a Family Tradition
What I love most about this recipe is how it brings people together. Every Christmas, my kitchen fills with family members rolling balls and dipping chocolate. My granddaughter Emma, now eight, has become my official taste-tester, and my son Michael has perfected the chocolate-melting technique.
Spreading the Joy
These Butterfinger Balls have traveled to countless potluck dinners, bake sales, and holiday gatherings. They’ve been shipped to college dorms, military bases overseas, and new mothers who needed a sweet pick-me-up. Each batch carries with it a little bit of love and the hope that it will create the same joy for others that it has brought to my family.
Notes for Success:
- Always use room temperature ingredients for the smoothest mixture
- Don’t skip the chilling step – it’s essential for clean coating
- Store finished balls in a cool, dry place
- These can be made up to a week in advance for parties
Frequently Asked Questions
Q: Can I use natural peanut butter for this recipe? A: While natural peanut butter can work, I recommend sticking with conventional peanut butter for the best texture. Natural peanut butter contains more oil and less stabilizers, which can make the mixture too soft to hold its shape properly.
Q: My chocolate coating looks dull and streaky. What went wrong? A: This usually happens when the chocolate gets too hot or when there’s moisture in the bowl. Make sure all equipment is completely dry, and keep your chocolate temperature between 88-90°F for the glossiest finish.
Q: Can I make these without the Butterfinger pieces? A: Absolutely! You’ll have delicious peanut butter balls. You could substitute crushed graham crackers, chopped peanuts, or even mini chocolate chips for different flavor profiles.
Q: How long do these need to set after coating? A: Allow at least 30 minutes at room temperature for the chocolate to set completely, or 15 minutes in the refrigerator for faster results.
Q: Can I double this recipe? A: Yes, this recipe doubles beautifully. Just make sure you have enough refrigerator space for chilling all the balls before coating.
Q: What’s the best way to crush Butterfinger bars? A: I place them in a sealed plastic bag and gently crush with a rolling pin. This gives you control over the size of the pieces and contains the mess.
Final Thoughts: More Than Just a Recipe
These Butterfinger Balls represent more than just a recipe to me – they’re a connection to family traditions, a way to show love through food, and a reminder that sometimes the best creations come from happy accidents in the kitchen. Whether you’re making them for a special occasion or just because Tuesday feels like it needs a little sweetness, I hope they bring as much joy to your family as they have to mine.
Remember, baking is as much about the love you put into it as the ingredients you use. Take your time, enjoy the process, and don’t be afraid to make this recipe your own. After all, the best family recipes are the ones that evolve with each generation, carrying forward the love while adapting to new tastes and preferences.