There’s something magical about dessert mashups. They take the best elements of classic favorites and transform them into something entirely new and exciting. As someone who’s spent countless hours perfecting dessert recipes, I can confidently say that this Heavenly Boston Cream Pie Cheesecake-Cake stands as one of the most impressive creations to ever come out of my kitchen.
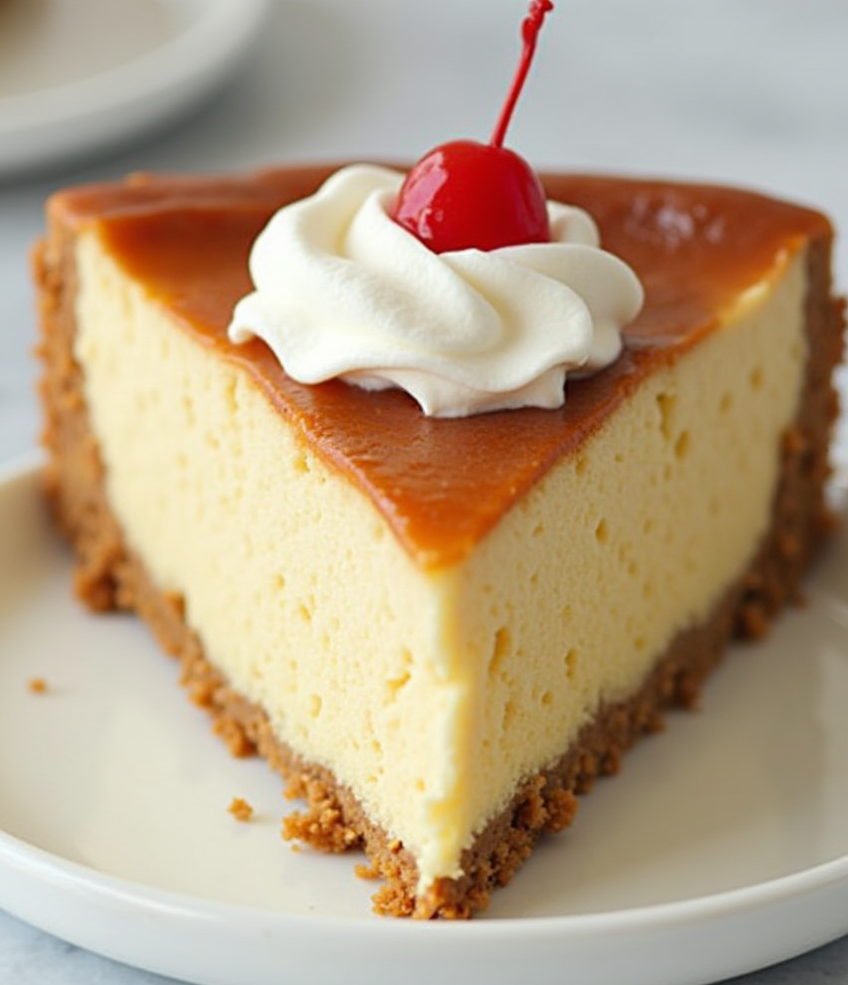
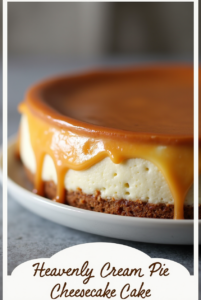
This showstopper combines the elegant simplicity of a Boston cream pie—with its light vanilla cake and rich pastry cream—and marries it with the luxurious texture of cheesecake, all topped with a glossy chocolate ganache that cascades down the sides. It’s the kind of dessert that elicits audible gasps when you bring it to the table.
Why This Boston Cream Pie Cheesecake-Cake Works
Before diving into the recipe itself, let me explain why this particular combination works so beautifully. Traditional Boston cream pie consists of vanilla cake layers sandwiching a custard filling, topped with chocolate glaze. Meanwhile, cheesecake offers a tangy, creamy counterpoint with its dense, silky texture.
By bringing these two desserts together, we create a symphony of textures and flavors: the light, airy cake layer serves as the foundation, while the smooth cheesecake and velvety pastry cream provide contrasting layers of creaminess. The dark chocolate ganache ties everything together with its bittersweet richness.
I developed this recipe after years of experimenting with various dessert combinations. The gelatin-stabilized cheesecake layer gives the cake structure without requiring baking, making this a partially no-bake dessert that’s both impressive and manageable.
Ingredients Breakdown
For the White Cake Layer:
- 1¾ cups all-purpose flour: Provides structure to the cake but keeps it tender
- 1½ teaspoons baking powder: Leavening agent that helps the cake rise
- 1 teaspoon salt: Enhances flavor and balances sweetness
- ¾ cup whole milk: Adds moisture and richness
- ½ cup butter, softened at room temperature: Creates tender crumb and buttery flavor
- 3 large eggs: Provide structure, moisture, and richness
- 1 cup sugar: Sweetens and contributes to the cake’s structure
- 1 teaspoon vanilla: Adds warm, aromatic flavor
For the Cheesecake Layer:
- 4 tablespoons gelatin: Stabilizes the cheesecake without baking
- 1 cup boiling water: Dissolves the gelatin
- ½ cup sugar: Sweetens the cheesecake
- 4 cups cream cheese, softened at room temperature: The foundation of the cheesecake layer
- 2 teaspoons vanilla: Enhances flavor
- 1 teaspoon lemon juice: Adds brightness and cuts through richness
For the Pastry Cream:
- 2 large egg yolks: Create richness and help thicken the custard
- ½ cup sugar: Sweetens the pastry cream
- 2 tablespoons cornstarch: Thickens the custard
- ½ teaspoon salt: Balances sweetness
- 1 cup whole milk: Forms the base of the custard
- ¼ cup heavy cream: Adds richness
- 1 tablespoon butter: Adds glossiness and flavor
- 1 teaspoon vanilla extract: Enhances flavor
For the Chocolate Ganache:
- 3 cups dark chocolate chips: Creates rich, deep chocolate flavor
- 1½ cups heavy whipping cream: Creates smooth, pourable consistency
Essential Equipment
- 9-inch cake pan
- 9-inch springform pan
- Parchment paper
- Stand mixer or hand mixer
- Medium saucepan
- Fine mesh sieve
- Mixing bowls
- Whisk
- Wooden spoon
- Offset spatula (for assembly)
- Cake turntable (optional but helpful)
Step-by-Step Instructions
Making the White Cake Layer
- Prepare your equipment: Preheat your oven to 350°F (175°C). Line a 9-inch cake pan with parchment paper and spray with baking spray.
- Mix dry ingredients: In a medium bowl, whisk together the flour, baking powder, and salt until well combined. This ensures even distribution of the leavening agents.
- Prepare the milk mixture: In a medium saucepan, combine the milk and butter. Heat over medium heat until the butter melts and the mixture comes to a simmer. Remove from heat immediately.
- Beat eggs and sugar: In a large bowl, use an electric mixer to beat the eggs and sugar until pale and thick, about 4-6 minutes. This step is crucial—the air incorporated here helps create a light, fluffy cake.
- Combine wet ingredients: With the mixer running on low speed, slowly pour the warm milk mixture into the egg mixture. Be careful not to pour too quickly, as this could cook the eggs.
- Add dry ingredients: Add the flour mixture and vanilla to the bowl and beat until just combined. Overmixing at this stage can develop gluten, resulting in a tougher cake.
- Bake: Pour the batter into the prepared cake pan and bake for 30-35 minutes, or until a cake tester inserted in the center comes out clean.
- Cool: Let the cake cool in the pan for 10 minutes, then transfer to a wire rack to cool completely.
Making the Cheesecake Layer
- Prepare the pan: Line a 9-inch springform pan with parchment paper and spray with baking spray.
- Dissolve gelatin: In a small bowl, combine the gelatin with sugar and pour boiling water over it. Stir until completely dissolved.
- Beat cream cheese: In the bowl of a stand mixer fitted with the paddle attachment, beat the cream cheese until completely smooth, about one minute. Scrape down the sides of the bowl to ensure no lumps remain.
- Add flavorings: Add vanilla and lemon juice to the cream cheese and beat on medium-high speed until incorporated and smooth, about one minute.
- Incorporate gelatin: With the mixer running on low, slowly pour in the gelatin mixture. Mix until fully incorporated.
- Set the cheesecake: Pour the mixture into the prepared springform pan. Tap the pan gently on the counter to remove any air bubbles. Refrigerate for at least 4 hours, or until firmly set.
Making the Pastry Cream
- Prepare the base: In a medium saucepan, whisk together egg yolks and sugar until well combined. Add cornstarch and salt, whisking until smooth.
- Add dairy: Gradually whisk in milk, then cream, ensuring no lumps remain. Add butter.
- Cook the custard: Place the saucepan over medium-low heat and cook, stirring constantly with a wooden spoon. When the mixture begins to thicken, immediately switch to a whisk and stir vigorously to prevent lumps.
- Finish cooking: Continue cooking and stirring until the mixture comes to a very low boil. Maintain this gentle boil for 2 minutes, about 6-8 minutes total cooking time.
- Strain and flavor: Strain the custard through a fine mesh sieve into a small bowl, pressing it through with a spatula. This removes any cooked egg bits. Stir in vanilla.
- Chill: Cover with plastic wrap, pressing it directly onto the surface of the custard to prevent a skin from forming. Refrigerate for at least 3 hours or overnight.
Making the Chocolate Ganache
- Prepare chocolate: Place chocolate chips in a large heat-proof bowl.
- Heat cream: In a small saucepan, heat heavy cream until it just begins to simmer. Do not let it come to a full boil.
- Combine: Pour the hot cream over the chocolate chips and let it sit for 1-2 minutes. Then stir gently until smooth and glossy.
- Cool slightly: Allow the ganache to cool at room temperature for about 10 minutes before using, so it’s pourable but not too hot.
Assembly Instructions
Now comes the exciting part—bringing all these components together to create your masterpiece:
- Level the cake: If necessary, use a serrated knife to level the top of the cooled cake layer so it’s flat.
- Release the cheesecake: Carefully run a knife around the edge of the springform pan and release the cheesecake layer.
- Layer the components: Place the cake layer on a serving plate or cake stand. Spread the pastry cream evenly over the cake layer, leaving a small border around the edge. Gently place the cheesecake layer on top.
- Add the ganache: Pour the slightly cooled ganache over the top of the cheesecake layer, allowing it to drip naturally down the sides. Use an offset spatula to guide the ganache if needed.
- Chill: Refrigerate the assembled cake for at least 1 hour before serving to allow the ganache to set.
Serving and Storage Tips
- Serving temperature: For the best flavor and texture, remove the cake from the refrigerator about 20 minutes before serving.
- Slicing: Use a sharp knife dipped in hot water and wiped clean between cuts for the cleanest slices.
- Storage: Store leftovers covered in the refrigerator for up to 3 days. The cake is not suitable for freezing as the texture of the pastry cream and cheesecake may change upon thawing.
- Make ahead: Each component can be made 1-2 days in advance and stored separately until final assembly.
Troubleshooting Common Issues
Over the years, I’ve encountered various challenges when making complex desserts like this one. Here are solutions to some common problems:
- Lumpy pastry cream: Always strain your pastry cream through a fine mesh sieve, and whisk vigorously when it begins to thicken.
- Cheesecake not setting: Ensure your gelatin is completely dissolved in hot water before adding it to the cream cheese mixture. Also, make sure to give it enough time to set in the refrigerator.
- Cracked cake: Don’t overmix the cake batter after adding the flour, and don’t overbake it.
- Ganache too thick: If your ganache becomes too thick to pour, gently reheat it by placing the bowl over a pan of simmering water, stirring until it reaches the desired consistency.
Variations to Try
This recipe is versatile and can be adapted in numerous ways:
- Chocolate cake base: Substitute a chocolate cake layer for the white cake for an even more decadent dessert.
- Flavored cheesecake: Add 2 tablespoons of coffee liqueur or amaretto to the cheesecake mixture for an interesting flavor twist.
- Fruit addition: Layer fresh berries on top of the pastry cream before adding the cheesecake layer.
- White chocolate ganache: Substitute white chocolate chips for the dark chocolate for a striking visual contrast.
The Science Behind the Magic
Understanding the science of baking helps ensure success:
- Why room temperature ingredients matter: Room temperature cream cheese and butter incorporate air more readily, creating smoother textures in the final product.
- The role of gelatin: Gelatin forms a matrix that traps water molecules, allowing the cheesecake to set without baking.
- Cornstarch in pastry cream: Cornstarch molecules expand when heated in liquid, forming a network that thickens the custard.
- Chocolate ganache emulsion: Chocolate ganache is an emulsion of fat and water, with the fat from the chocolate suspended in the water from the cream.
Nutritional Considerations
This dessert is undeniably indulgent. Each slice contains:
- A significant amount of dairy fat from cream cheese, butter, and heavy cream
- Protein from eggs and dairy
- Carbohydrates from flour and sugar
- Some calcium and vitamin A from dairy products
For special dietary needs, consider these adaptations:
- Gluten-free: Substitute the all-purpose flour with a gluten-free flour blend.
- Lower sugar: Reduce sugar in each component by up to 25% without significantly affecting texture.
Why This Recipe Has Become a Reader Favorite
Since sharing this recipe on my blog, I’ve received countless comments from readers who have made it for special occasions:
“I made this for my husband’s birthday, and he declared it the best dessert he’s ever eaten!”
“Brought this to a family gathering and everyone was asking for the recipe. Worth every minute of preparation time!”
“The combination of textures is incredible. I was intimidated at first, but your clear instructions made it manageable.”
The Perfect Occasions for This Dessert
This showstopper is ideal for:
- Anniversary celebrations
- Holiday gatherings
- Dinner parties where you want to impress
- Birthday celebrations for dessert lovers
- Special achievements worth commemorating
Final Thoughts on Boston Cream Pie Cheesecake-Cake
Creating this Heavenly Boston Cream Pie Cheesecake-Cake requires time and attention to detail, but the result is absolutely worth the effort. There’s something incredibly satisfying about bringing together different dessert traditions into one harmonious creation.
What I love most about this dessert is how it creates distinct moments of pleasure with each bite—the dense creaminess of cheesecake, the delicate vanilla custard, the tender cake, and the rich chocolate ganache all work together while maintaining their individual character.
Whether you’re an experienced baker looking for a new challenge or someone wanting to create a truly memorable dessert for a special occasion, this recipe delivers both the process satisfaction of creating something beautiful and the taste satisfaction of enjoying something delicious.
Happy baking, and enjoy the well-deserved compliments when you serve this masterpiece!