Description
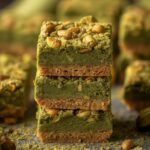
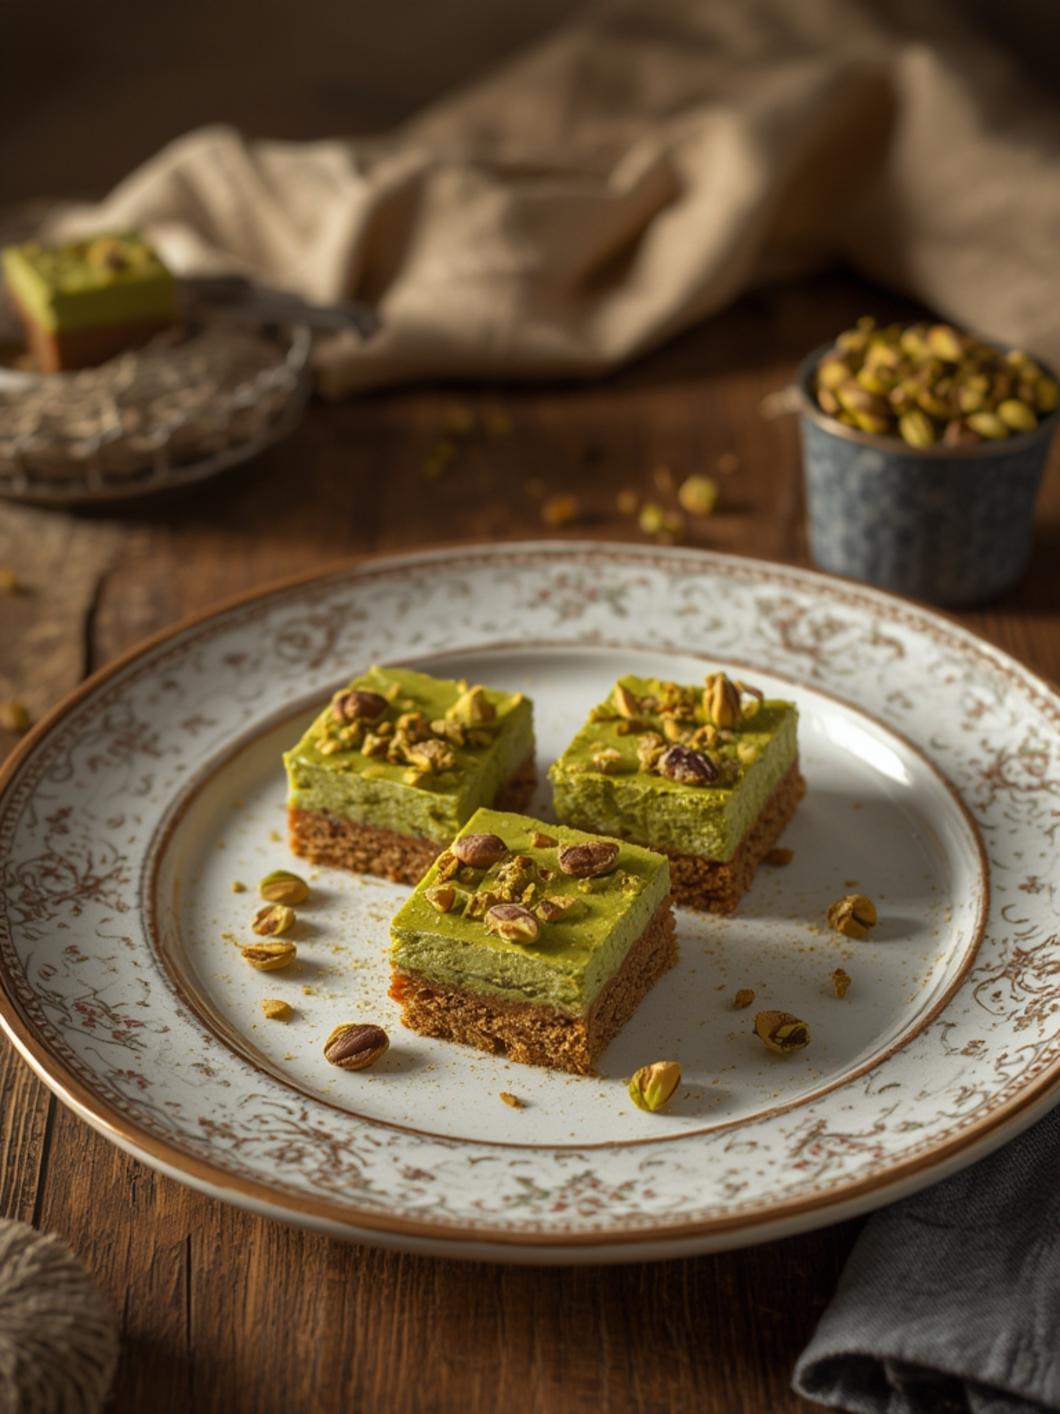
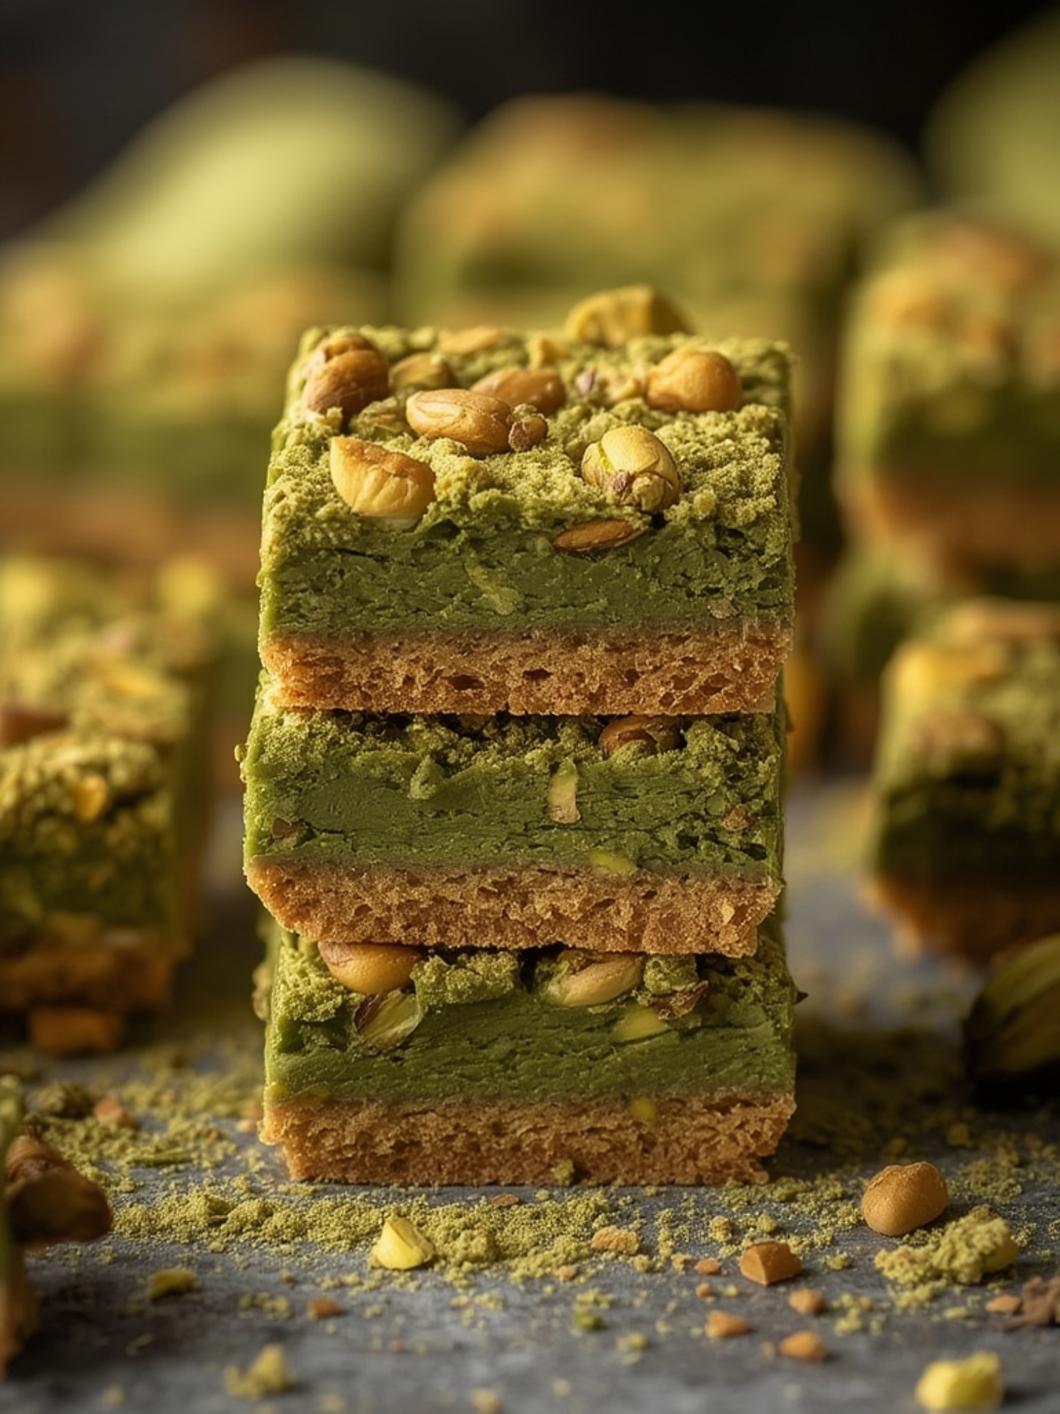
Have you ever craved a treat that’s simultaneously earthy, sweet, nutty, and sophisticated—without needing a pastry chef’s diploma? Imagine a dense, fudgy bar infused with vibrant green tea, crowned with a salty-sweet crust of crushed pistachios. This isn’t just a dessert; it’s a sensory experience. pistachio matcha bars are your new go-to for afternoon delight, a stunning addition to a brunch spread, or a thoughtful homemade gift. Making them at home means you control the sweetness, the quality of the matcha, and you skip the expensive café markup. It’s a simple yet impressive act of self-care and culinary creativity. In this guide, we’ll decode everything you need to know to perfect these ,from pantry staples to pro-level tips.
Ingredients
Materials & Supplies
For the Pistachio Crust:
- Pistachios: 1 cup (shelled, unsalted). For a different nut profile, try almonds or walnuts.
- Granulated Sugar: 2 tbsp (or coconut sugar for a caramel note).
- Unsalted Butter: 4 tbsp, melted. Coconut oil can be substituted for a dairy-free option.
- Salt: A pinch to enhance flavors.
For the Matcha Filling:
- High-Quality Culinary-Grade Matcha Powder: 2 tbsp (ceremonial grade is too delicate/expensive for baking here).
- All-Purpose Flour: 1 cup (or a 1:1 gluten-free blend).
- Baking Powder: ½ tsp.
- Salt: ¼ tsp.
- Granulated Sugar: ½ cup (substitute with maple syrup for a deeper flavor, but reduce other liquids slightly).
- Unsalted Butter: ½ cup (1 stick), softened.
- Large Eggs: 2, at room temperature.
- Vanilla Extract: 1 tsp.
- Plain Greek Yogurt or Sour Cream: ¼ cup (adds moisture and tenderizes the crumb).
- Optional Brightness: Zest of 1 lemon or orange.
Essential Kitchen Tools:
- 8x8 inch baking pan
- Parchment paper
- Food processor or high-powered blender (for the crust)
- Two mixing bowls
- Whisk and spatula
- Fine-mesh sieve (for sifting matcha & flour)
- Electric mixer (handheld or stand)
Timing / Cooking Schedule
- Prep Time: 20 minutes (chopping nuts, mixing dough, preheating oven).
- Bake Time: 25-28 minutes. The bars are done when the edges are set and the top cracks slightly; the center should still have a slight jiggle.
- Cool Time: Crucial! At least 2 hours at room temperature, then 1 hour in the fridge to set properly for clean cuts.
- Total Time: ~3 hours 45 minutes (mostly passive cooling). Think of it as a weekend baking project or a make-ahead dessert. The active hands-on time is minimal, making it perfect for a busy day.
Instructions
Step-by-Step Instructions
1. Prep & Preheat: Preheat your oven to 350°F (175°C). Line your 8×8 pan with parchment paper, leaving an overhang on two sides for easy lifting.
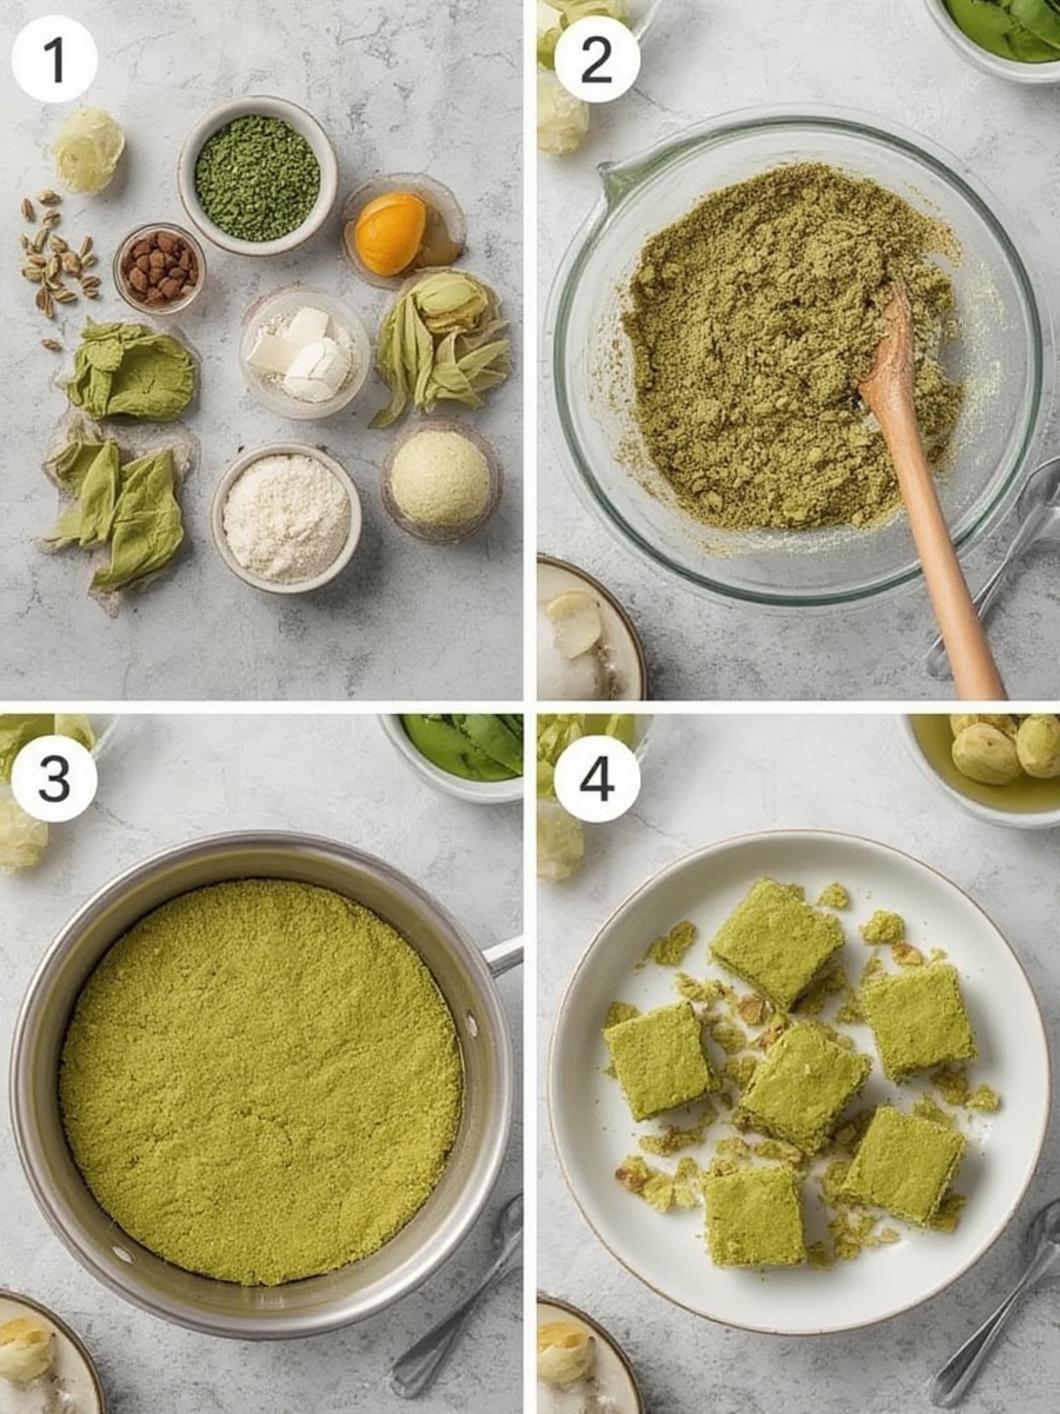
2. Make the Pistachio Crust: In a food processor, pulse the shelled pistachios until they’re a coarse meal, not a fine powder. Add sugar, melted butter, and a pinch of salt. Pulse until the mixture is damp and sandy. Firmly press this mixture into the bottom of your prepared pan, creating an even layer. Bake for 10 minutes, then remove and let cool slightly while you make the filling.
3. Prepare the Matcha Filling: Sift the matcha powder, flour, baking powder, and salt together into a bowl. This prevents clumps and ensures a vibrant green color. In a separate large bowl, use an electric mixer to beat the softened butter and sugar together until light and fluffy (about 3 minutes). Beat in eggs one at a time, then vanilla and lemon zest (if using).
4. Combine & Bake: Gradually add the dry sifted ingredients to the wet mixture, mixing on low speed until just combined. Do not overmix. Gently fold in the Greek yogurt or sour cream until smooth. Pour the thick batter over the slightly cooled crust, spreading evenly. Bake for 25-28 minutes. Pro Tip: The bars are done when a toothpick inserted near the center comes out with a few moist crumbs (not wet batter). They will continue to set as they cool.
5. Cool Completely & Slice: Let the bars cool in the pan on a wire rack for 2 hours. Then, use the parchment overhang to lift the entire slab out. Place on a cutting board and refrigerate for at least 1 hour before slicing with a sharp knife (wipe the blade between cuts for clean edges). This step is non-negotiable for perfect Focus keyword.
Nutritional Benefits / Advantages
These bars offer more than just indulgence. pistachio matcha bars pack a nutritional punch:
- Matcha: Rich in catechins (antioxidants), particularly EGCG, which supports metabolism and cellular health. It provides a calm, sustained energy boost thanks to L-theanine, avoiding the jitters of coffee.
- Pistachios: A complete protein source among nuts, high in fiber, healthy fats, and vitamin B6. They promote heart health and satiety.
- Control Over Ingredients: Homemade means no preservatives, less refined sugar (you can adjust!), and the ability to use high-quality, organic matcha and nuts.
- Portion Control: Baking in a defined pan makes serving a known, reasonable portion easier than mindlessly eating from a store-bought box.
Tips, Alternative Methods, or Cooking Advice
- Matcha Quality: Use a bright green, fresh-tasting culinary matcha. Dull, yellow-green matcha will taste stale and bitter. Store it in an airtight container in the fridge or freezer after opening.
- Nut-Free Version: Substitute the pistachio crust with a mix of certified GF oats, sunflower seeds, and a touch of almond extract (if tolerated).
Salt is Key: A good pinch of flaky sea salt on top of the bars after* baking elevates all the flavors.
- Fudgier Texture: For an ultra-dense, brownie-like texture, reduce the flour by 2 tablespoons and add an extra tablespoon of yogurt.
- Seasonal Twist: Fold in ½ cup of fresh cranberries or chopped dried cherries into the batter for a tart holiday variation.
Common Mistakes to Avoid
1. Using Old Matcha: Stale matcha is bitter and dull. If it smells like fish or hay, toss it.
2. Skipping the Sift: Clumps of matcha or flour create unpleasant pockets and uneven color. Always sift your dry ingredients together.
3. Under-Pressing the Crust: Press the crust mixture very firmly into the pan so it binds together and doesn’t crumble when sliced.
4. Cutting While Warm: This is the #1 reason for messy, crumbly bars. Patience is a virtue—let them chill fully in the fridge first.
5. Overbaking: These bars dry out quickly. Pull them from the oven when the edges are set but the center looks slightly underdone.